Connecting to JupyterHub Hosts with VS Code
Visual Studio Code allows for direct integration with and connection to remote environments via a number of popular protocols including via API calls to Jupyter and JupyterHub instances.
The Microsoft Jupyter extension for Visual Studio Code works well with the CSE MAGIC environment.
Installing the VS Code JupyterHub Extension
The official Microsoft Jupyter extension is available at the following link: https://marketplace.visualstudio.com/items?itemName=ms-toolsai.jupyter
Note
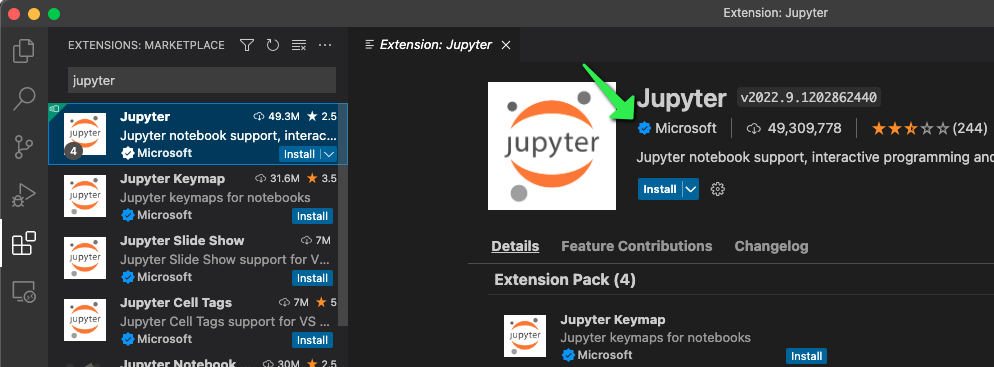
Be certain VS Code extensions you install are from a trusted publisher. Generally speaking extensions from large publishers like Microsoft and Red Hat are high quality and function well. Additionally, look for the blue checkmark next to the publisher name.
This is what the Jupyter extension looks like, note the verified checkmark. Click the Install button to add this extension to VS Code:
Generating a JupyterHub API Token
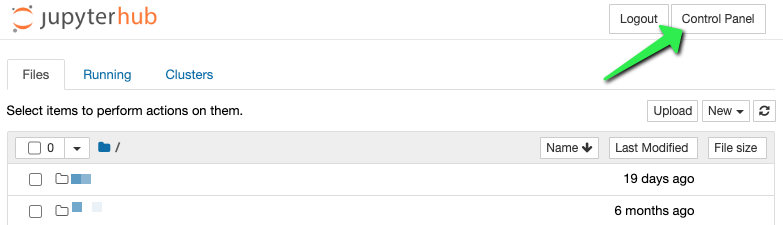
Once the above extension has been installed in VS Code, you need to generate an API Token within JupyterHub for use with VS Code. To do this, log into the JupyterHub environment you would like to access (for example, the CSE MAGIC environment). Logging in should start your JupyterHub server automatically.
Click on 'Control Panel':
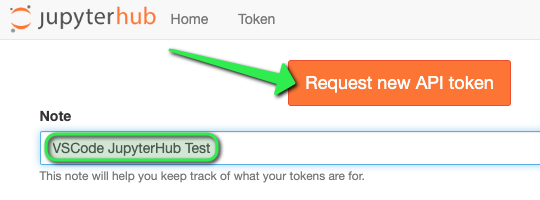
Click on 'Token':

Enter a note for the API Token you are generating, then click 'Request a new API token':
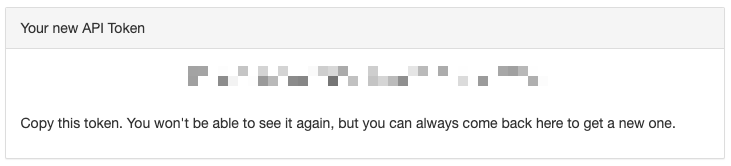
Make a note of the generated API Token.
Note
You will not be able to see this token again. If it's lost, you can generate a new token. Revoking a token will result in code and connections that utilize that token not being able to connect in the future.
Ensure your JupyterHub Server Instance is Running
Logging into JupyterHub should automatically start your server instance. Before connections to the JupyterHub API will function, you need to ensure that your JupyterHub Server Instance is online. To do this, navigate to the JupyterHub Control Panel:
Click on 'Control Panel':
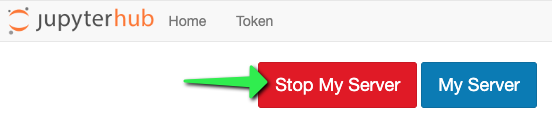
If the 'Stop My Server' button appears, the server is currently running and is ready for API connections from VS Code:
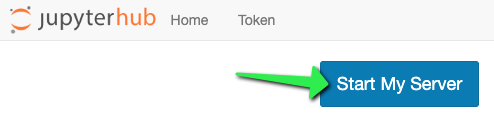
If the 'Start My Server' button appears, click it to start your server instance:
Connecting to the JupyterHub instance from VS Code
Launch the VS Code Command Palette via:
⌘ Command + Shift + P (Mac OS)
- or -
Ctrl + Shift + P (Windows and Linux)
Type the following into the Command Palette and press Enter:
Jupyter: Specify Jupyter Server for Connections
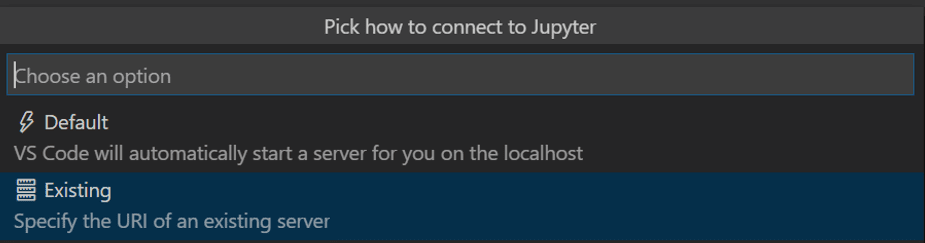
You may be prompted to 'Pick how to connect to Jupyter', if so, select 'Existing: Specify the URI of an existing server':
You need to generate your URI / URL string using the following template:
http://magic01.cse.lehigh.edu/user/{username}?token={APIToken}
Where {username} is your JupyterHub username without the curly braces. You will also paste in the API Token you generated via the JupyterHub Control Panel (again without the curly braces). This step assumes you are connecting to the CSE MAGIC environment. If not, substitute a relevant base URI / URL string.
At the 'Enter the URI of the running Jupyter server' prompt, enter the URI / URL string generated from the above step:

Upon connection, the Visual Studio Code window will show Jupyter Server: Remote in the bottom-right corner:

Additional documentation and resources
Additional documentation for the VS Code JupyterHub Extension can be accessed via Microsoft's official VS Code documentation pages at: https://code.visualstudio.com/docs/datascience/jupyter-notebooks