Using Anaconda Navigator on Windows
The following documentation assumes that Anaconda Navigator has been installed on your system. If this is not the case, please visit the 'Installing Anaconda Navigator' documentation page.
Note
This is the Windows version of this document. If your machine is a Mac, check out the Using Anaconda Navigator on Mac document instead.
Important
Various online sources will indicate the use of pip to install packages or fix various issues. If Anaconda is installed on a machine, the conda and pip package managers can conflict leading to larger and more complex issues. If the machine has Anaconda installed, only use conda commands, not pip commands.
Launching Anaconda Navigator
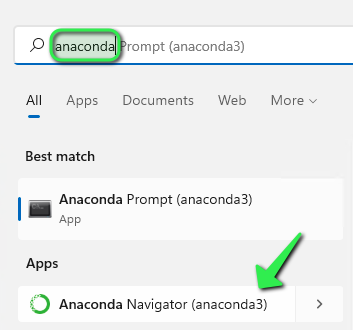
Click on the ⊞ Start Menu. Locate Anaconda Navigator by searching for 'Anaconda'. Click on 'Anaconda Navigator' rather than 'Anaconda Prompt' or 'Anaconda PowerShell':
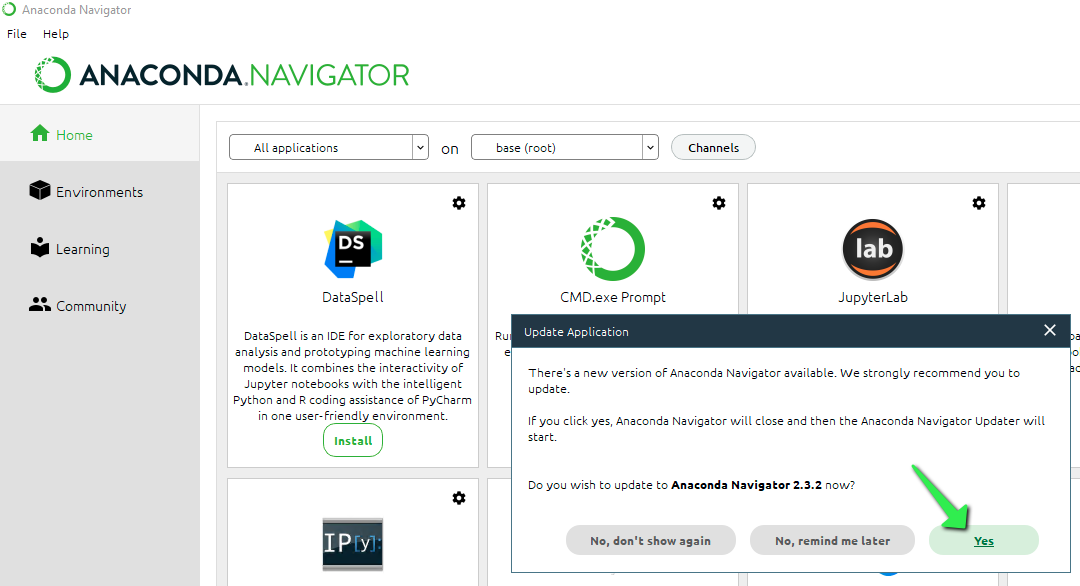
Anaconda Navigator will launch. The launch may take some time to complete and flashing boxes are normal during startup. If Anaconda Navigator detects an available update, it will prompt to install the update, click `Yes to automatically update:
Initial Configuration of Windows Command Prompt for a Python/Anaconda Environment
This will configure the base Python environment for Windows Command Prompt, Windows PowerShell, and the Windows Terminal for easier use with Anaconda.
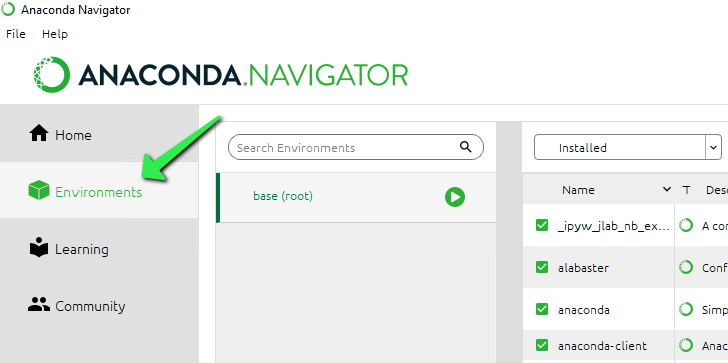
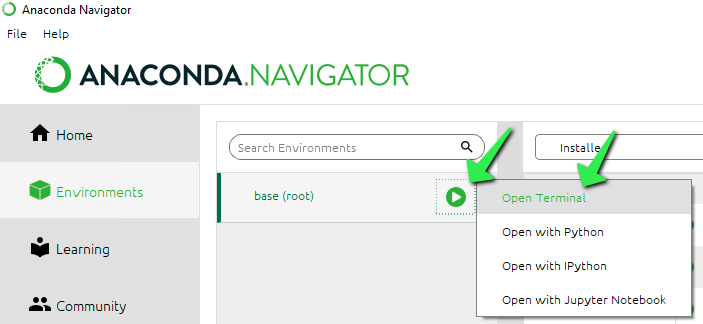
From Anaconda Navigator, click on the 'Environments' tab on the left:
Click on the Play button and then click on 'Open Terminal':
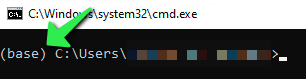
This will launch the Windows Command Prompt with the 'base' Python environment loaded, the beginning of the prompt will show (base) to indicate this:
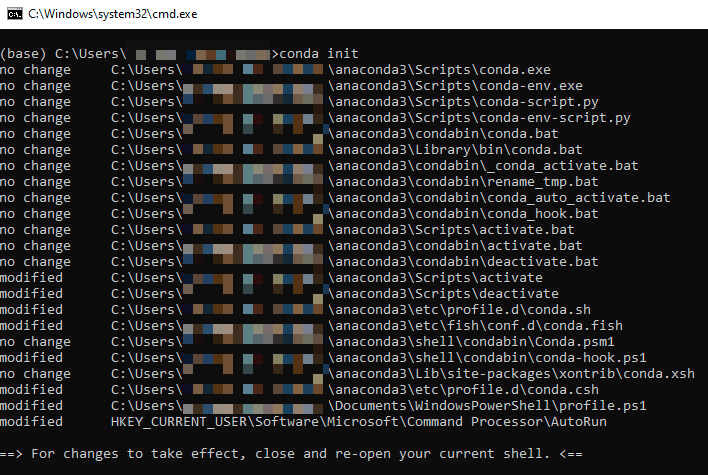
Type the following at the Command Prompt to configure the 'base' Python environment for use:
conda init
The environment will be configured:
Close the Command Prompt and optionally re-open it.
Resolving PowerShell and Windows Terminal Errors on Launch
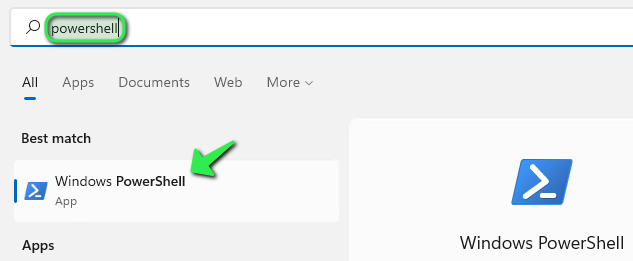
By default, Windows will block some of the functionality of the Anaconda environment scripts. To correct this, launch PowerShell from the ⊞ Start Menu by searching for 'PowerShell':
Ignore the error and type the following:
Set-ExecutionPolicy -ExecutionPolicy RemoteSigned -Scope CurrentUser
Enter 'Y', when prompted:
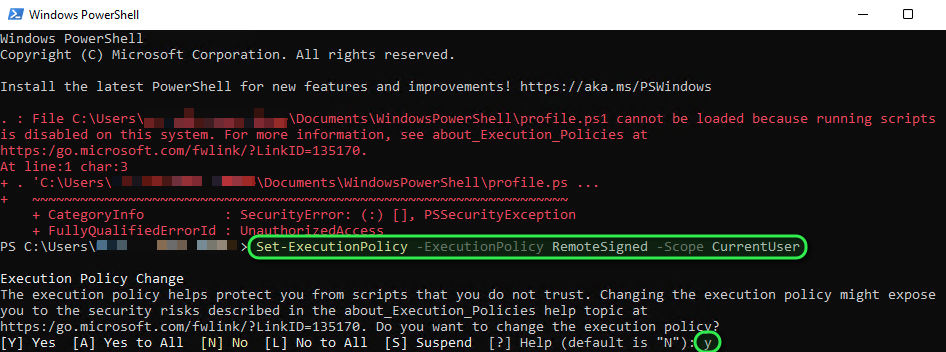
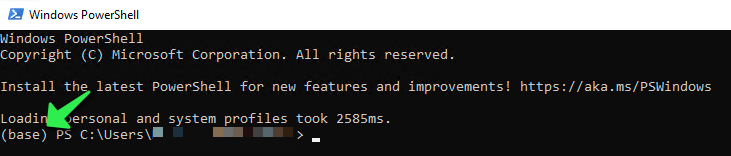
Close and re-open PowerShell. There should be no error and the (base) Python environment configuration will load noted by the (base) at the beginning of the prompt:
Using VS Code with Anaconda
Visual Studio Code needs some configuration to find the default Anaconda Python environment. This section of the document assumes VS Code has been installed on the machine. If VS Code needs to be installed, follow the steps in the Windows - Install VSCode documentation.
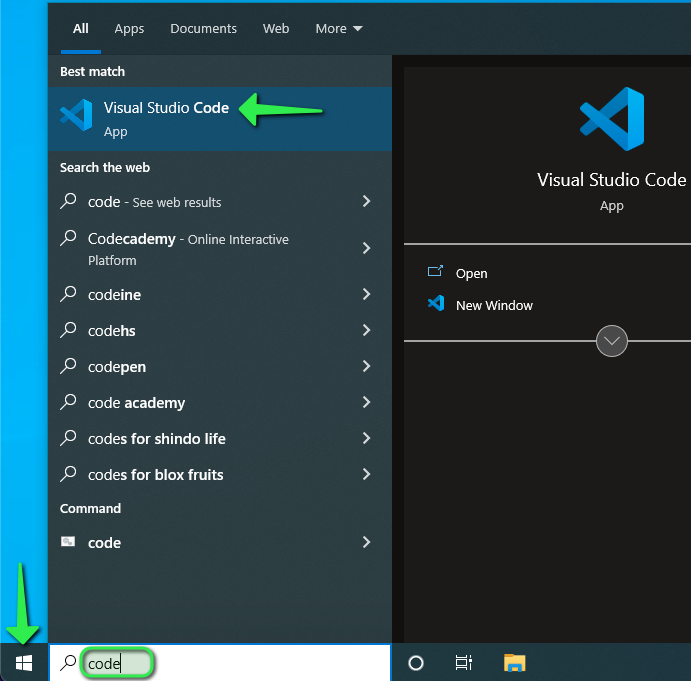
Launch VS Code from the ⊞ Start Menu by searching for 'Code':
Installing the VS Code Python Extension
Note
The VS Code Python extension does not include a Python interpreter. There are multiple ways to ensure Python is installed on the machine. One example is if you have previously installed Anaconda Navigator, it includes a version of the Python interpreter engine.
Launch Visual Studio Code (see the installation instructions for your operating system in the menu system to the left if you need assistance launching Visual Studio Code).
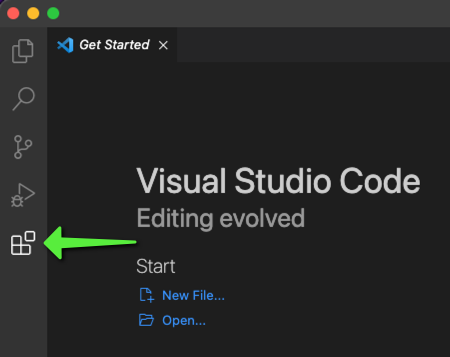
From the main VS Code interface, click on the Plug-In/Extensions button:
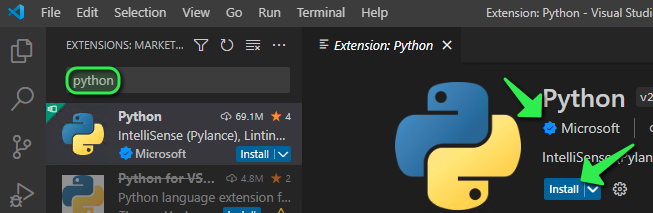
In the search field at the top, type 'python' and press Enter or Return on your keyboard. Locate the 'Python' extension from Microsoft.
Note
There are other Python extensions in the Extension Marketplace. Be certain the VS Code Python extension you install is from Microsoft and listed with a blue checkmark next to the publisher name.
This is what the proper Microsoft Python extension looks like, note the verified checkmark. Click the Install button to add this extension to VS Code:
The installation has completed once the Extension shows 'Uninstall' in the Extension browser.
Configuring VS Code to find Anaconda's Python Interpreter
Launch the VS Code Command Palette via:
Ctrl + Shift + P
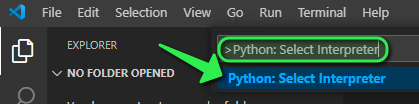
Type the following in the Command Palette:
Python: Select Interpreter
Click on the 'Python: Select Interpreter' option that is displayed:
Click on the 'Python 3.x.xx ('base')' option that is located at the following path '~/anaconda3/python.exe':

When loading a Python script within VS Code, the following will display in the bottom-right corner on the status bar indicating the Python environment that has been activated and is currently being utilized:

Using Spyder Instead of VS Code
VS Code is a great integrated development environment (IDE). An alternative that some users prefer is the Spyder IDE. This is included with the Anaconda installation.
Launching Spyder
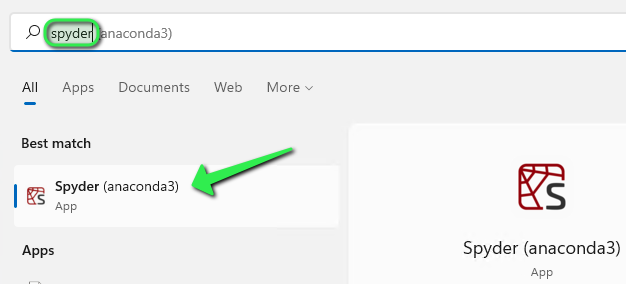
As long as Anaconda is installed, Spyder will be available in the ⊞ Start Menu by searching for 'spyder':
Spyder natively supports Python and is preconfigured to use the Anaconda Python environment by default.
Updating Spyder
Spyder may prompt that an update is available. The version of Spyder included with Anaconda uses the Conda package manager rather than the pip package manager. This makes updating a manual process.
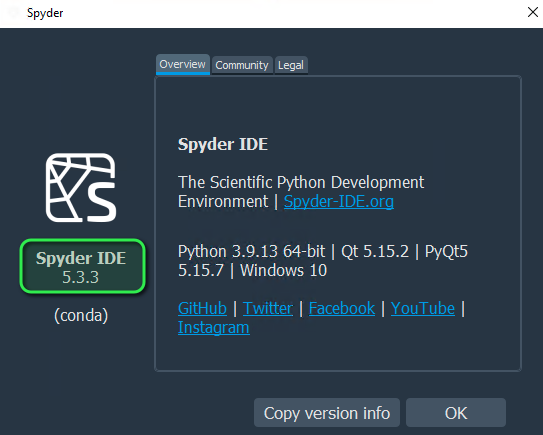
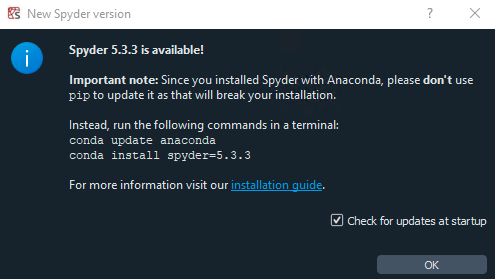
If an update is available, a prompt similar to the following will display upon launching Spyder:
Note
Make note of the version listed in the conda install spyder line, as that will be required later. In the screenshot above, it is 5.3.3 but will differ from this as updated versions of Spyder are released.
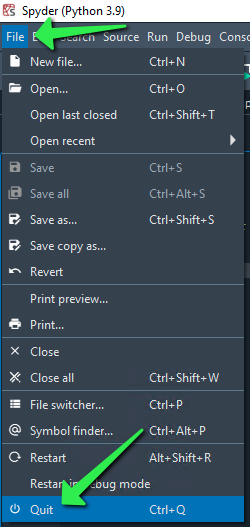
Click OK on the prompt and then close Spyder via clicking on the File menu and then select Quit:
Launch a Command Prompt to run the Spyder Update
From Anaconda Navigator, click on the 'Environments' tab on the left:
Click on the Play button and then click on 'Open Terminal':
This will launch the Windows Command Prompt with the 'base' Python environment loaded, the beginning of the prompt will show (base) to indicate this:
Note
The following installation and updating processes will take quite some time to complete. The various installation, uninstallation, and update processes may prompt for confirmation that they should proceed with updates/upgrades. If so, type 'Y' and hit Enter to accept.
Type the following at the Command Prompt to update Anaconda:
conda update anaconda
Once the Anaconda update completes, type the following to uninstall Spyder in preparation for the update (this is slightly different than what the update box indicates within the Spyder IDE, use the following process instead):
conda uninstall spyder
When the above completes, next reinstall Spyder from the Anaconda channel by running:
conda install -c anaconda spyder=x.x.x
Where x.x.x is the version number noted previously from the update prompt within Spyder.
Confirm the update was successful via the Help / About menu:
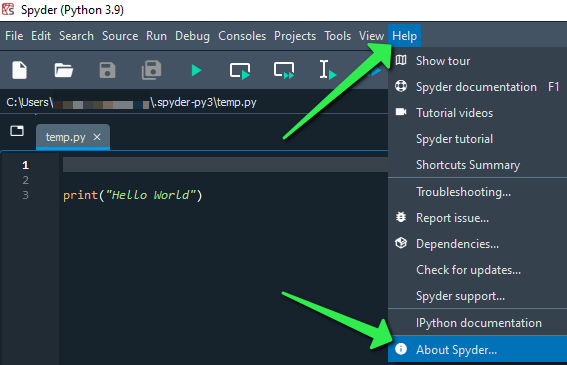
The version of Spyder is listed under the icon: