Installing Visual Studio Code on Windows
Downloading Visual Studio Code
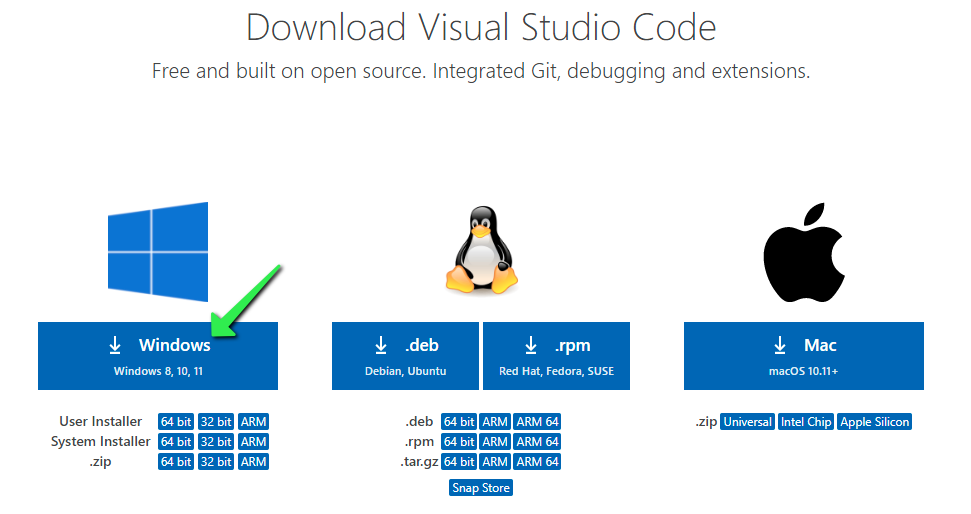
Navigate to the following link: https://code.visualstudio.com/download
Click on the blue download button that says Windows under the Windows Logo:
Launching the Visual Studio Code Installation Package
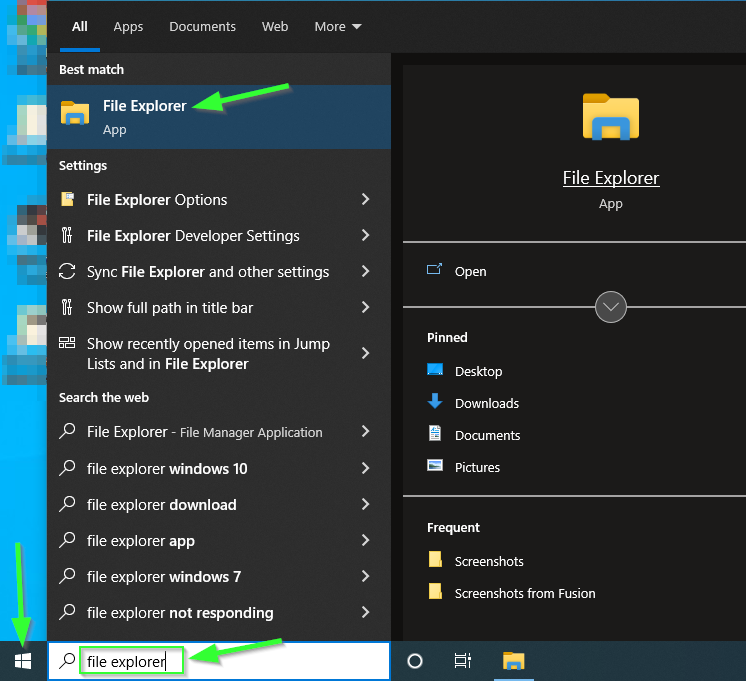
Once the download completes, locate it by clicking on the ⊞ Start Button and type ‘File Explorer’. Launch File Explorer:
On the left side of the File Explorer window, locate and click on Downloads. Double-click on the downloaded 'VSCodeUserSetup-x64-1.x.x.exe file:

Installing
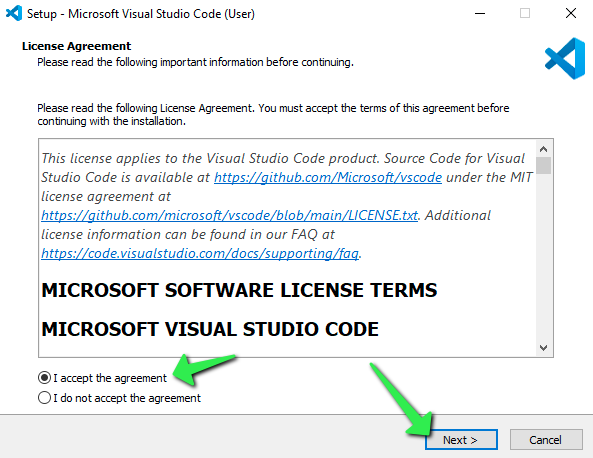
Once the installer launches, step through the installation process. First, accept the License Agreement, then click Next >.
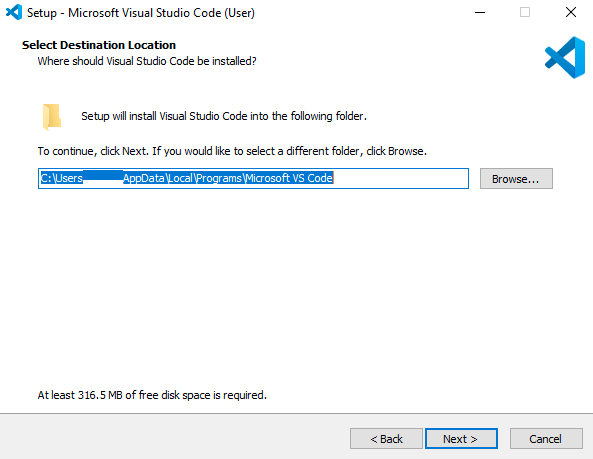
Accept the default location for installation by clicking Next >.
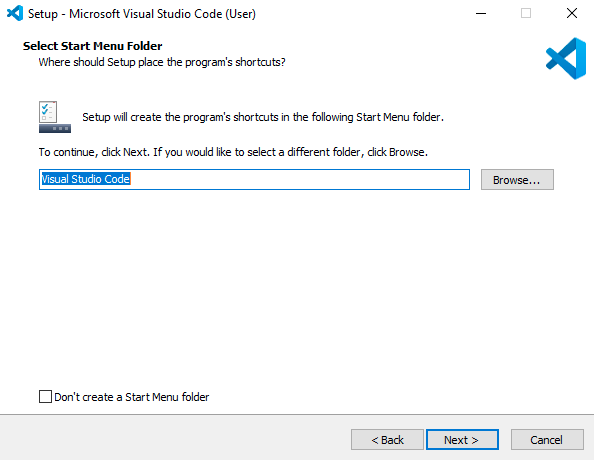
Accept the default Start Menu folder name by clicking Next >.
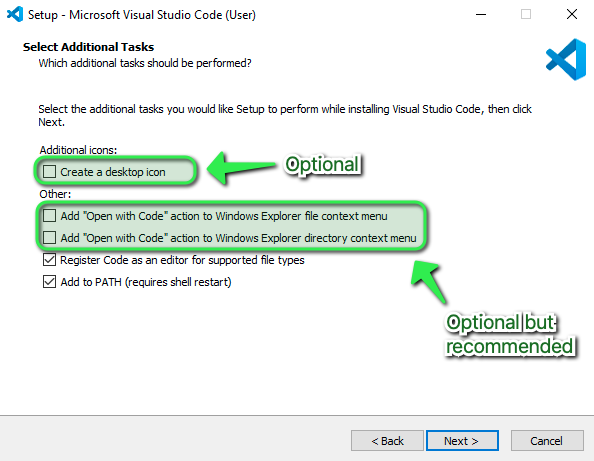
Optionally check the boxes for 'Creating a desktop icon', and adding VS Code to the Right-Click menu functionality of Windows File Explorer, then click Next >.
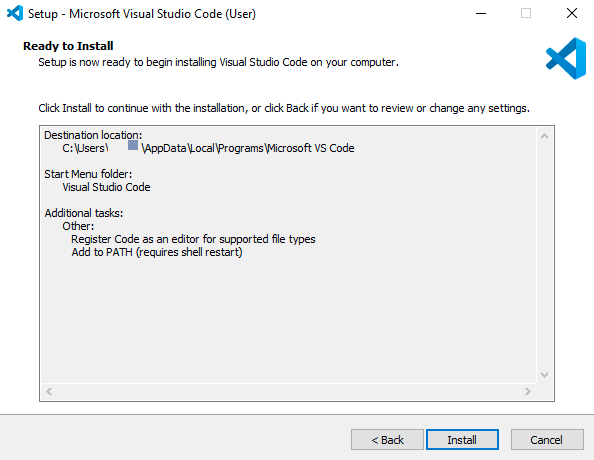
Confirm the installation options, then click Install.
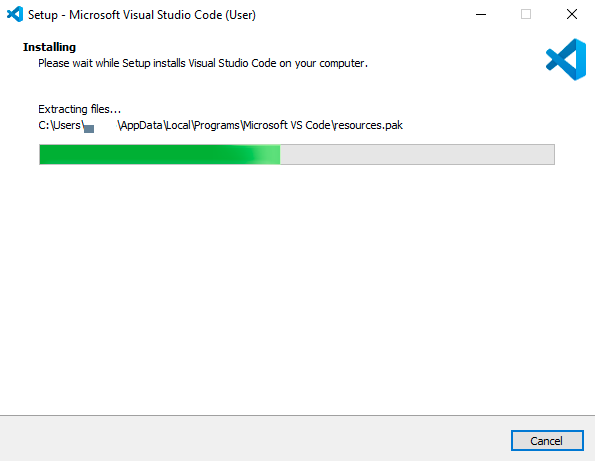
The installation will proceed.
Click Finish to exit the installation and (by default) launch Visual Studio Code:

Finding VS Code after Installation
The Visual Studio Code installer will create an icon in the ⊞ Start Menu. To locate it, click on the Start Menu and search for 'Code':
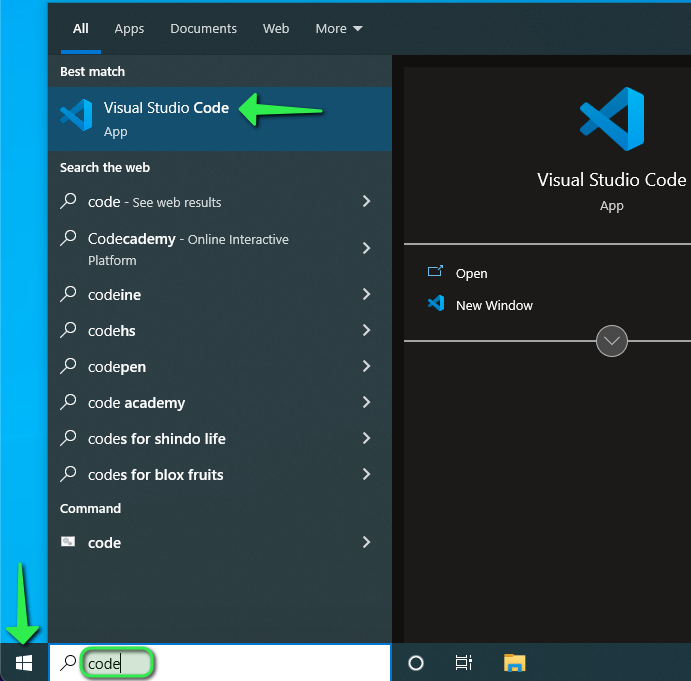
Visual Studio Code will launch.
