Installing Java JDK Version 11 on Windows
Checking for previously installed Java versions
Installed Java versions can be determined from Windows PowerShell by typing the command:
java -version
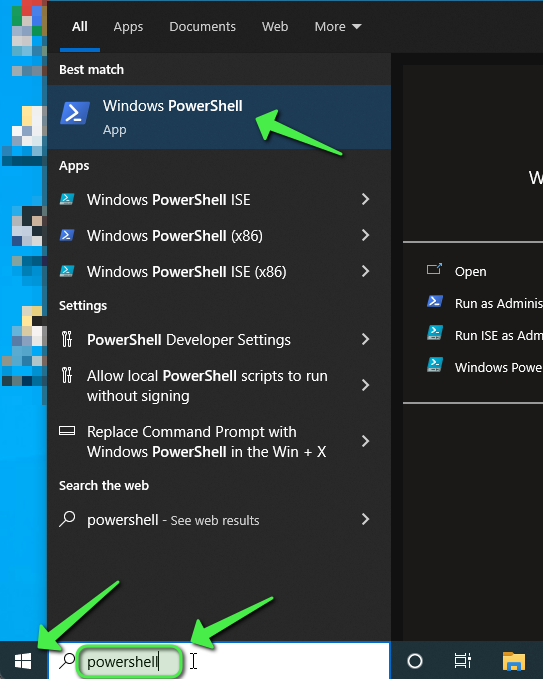
To do this, click on the ⊞ Start Menu and type 'PowerShell' in the search field, click on the PowerShell icon:
Type:
java -version
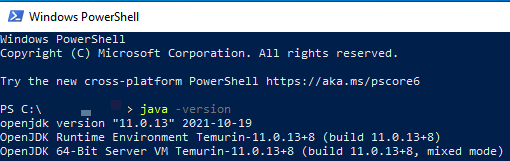
In the case of this screenshot, Java JDK 11.0.13 is installed. If you receive an error, Java is likely not installed or the JAVA_HOME environment variable is improperly or not set. The installation process for Java covered in this document will fix the environment variable.
Introduction
The CSE Department has standardized on Version 11 of the Eclipse Temurin Java Development Kit (also sometimes called AdoptOpenJDK, or Red Hat/CentOS OpenJDK). To download a suitable build of Eclipse’s Temurin Java JDK, navigate to:
If you have previously installed or attempted to install Java, or found a different version than 11 when checking for installed Java versions, please refer to the documentation for removing older Java versions on Windows prior to performing the steps contained in this guide.
Important
Please close any open IDEs (including VS Code, Eclipse, etc.) before proceeding with the steps outlined below.
Downloading Eclipse Temurin
As mentioned above, the CSE and CSB-recommended version of Java is 11, the default download at Adoptium.net is version 17. Click on Other platforms and versions to find version 11:

Set up the filters for ‘Windows’, ‘x64’, ‘JDK’, and Version ‘11’ as shown, verify the version shown looks like jdk-11.x.x+x, then click on the ‘.msi’ link to download the installer:

Launching the Eclipse Temurin Installation Package
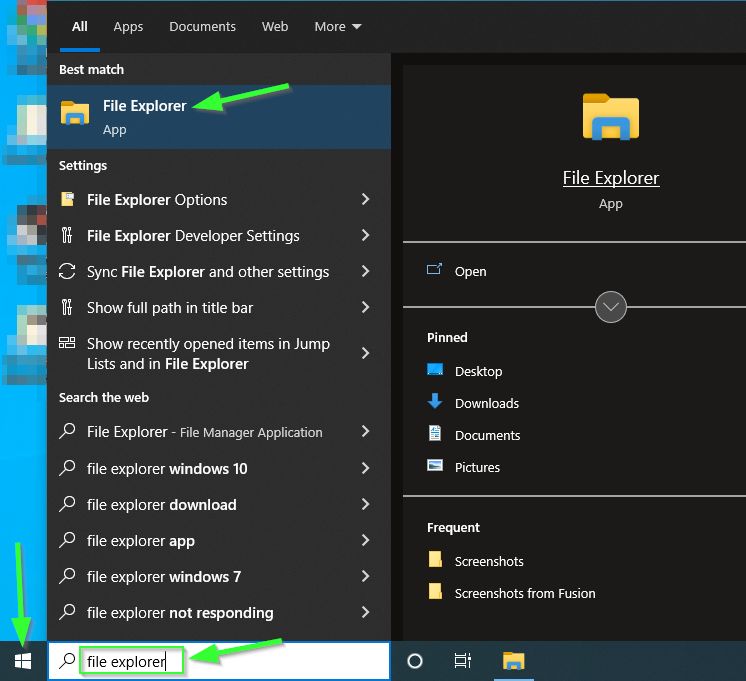
Once the download completes, locate it by clicking on the Start button and type ‘File Explorer’. Launch File Explorer:
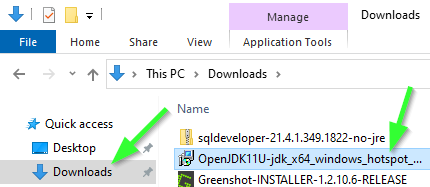
On the left side of the File Explorer window, locate and click on Downloads. Double-click on the downloaded ‘OpenJDK11U-jdk_x64_windows_hotspot_11.x.x_x.msi’ file:
Installation
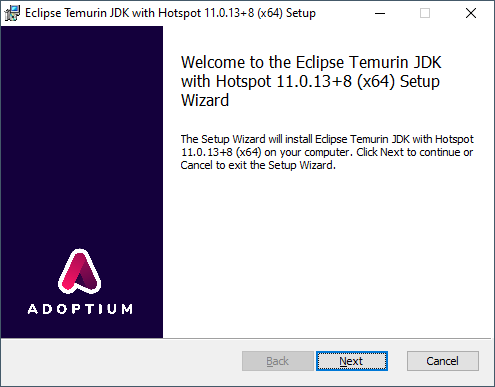
Step through the installer by clicking ‘Next’ on the Welcome screen:
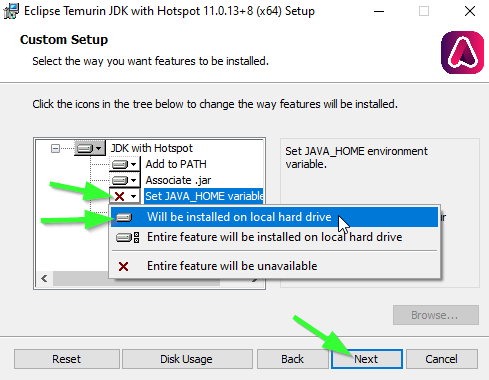
Warning
The next step is extremely important, without the JAVA_HOME environment variable, various IDEs including Visual Studio Code will fail to work properly with Java.
Ensure ‘Set JAVA_HOME variable’ is set to ‘Will be installed on local hard drive’ and the red X on the icon changes to a gray drive icon then click ‘Next’:
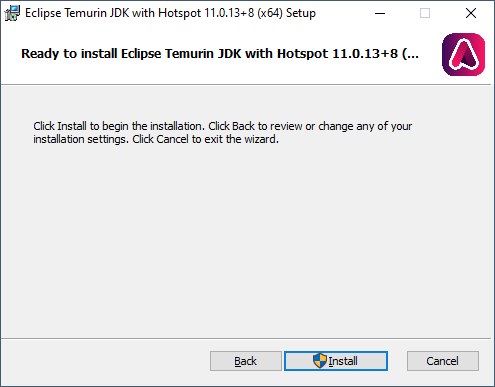
Click ‘Install’:
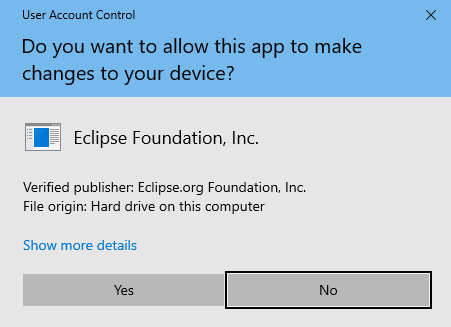
Windows may prompt for permission to install the program, click ‘Yes’:
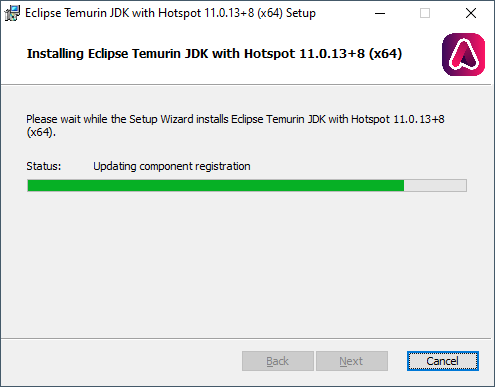
The installation will run:
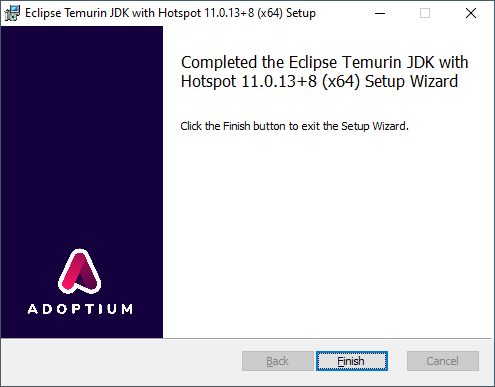
Click ‘Finish’ once the installation has completed:
Eclipse Temurin Java JDK Version 11 is now installed. Relaunch the application that you were attempting to use with Java. Confirm the installed version of Java via the process at the beginning of this document.