Using Anaconda Navigator on Mac
The following documentation assumes that Anaconda Navigator has been installed on your system. If this is not the case, please visit the 'Installing Anaconda Navigator' documentation page.
Note
This is the Mac version of this document. If your machine is running Windows, check out the Using Anaconda Navigator on Windows document instead.
Important
Various online sources will indicate the use of pip to install packages or fix various issues. If Anaconda is installed on a machine, the conda and pip package managers can conflict leading to larger and more complex issues. If the machine has Anaconda installed, only use conda commands, not pip commands.
Launching Anaconda Navigator
To launch Anaconda Navigator, hold down the Command ⌘ key on your keyboard and press the Space Bar and type 'Anaconda' in the search field, click on the 'Anaconda-Navigator' icon:

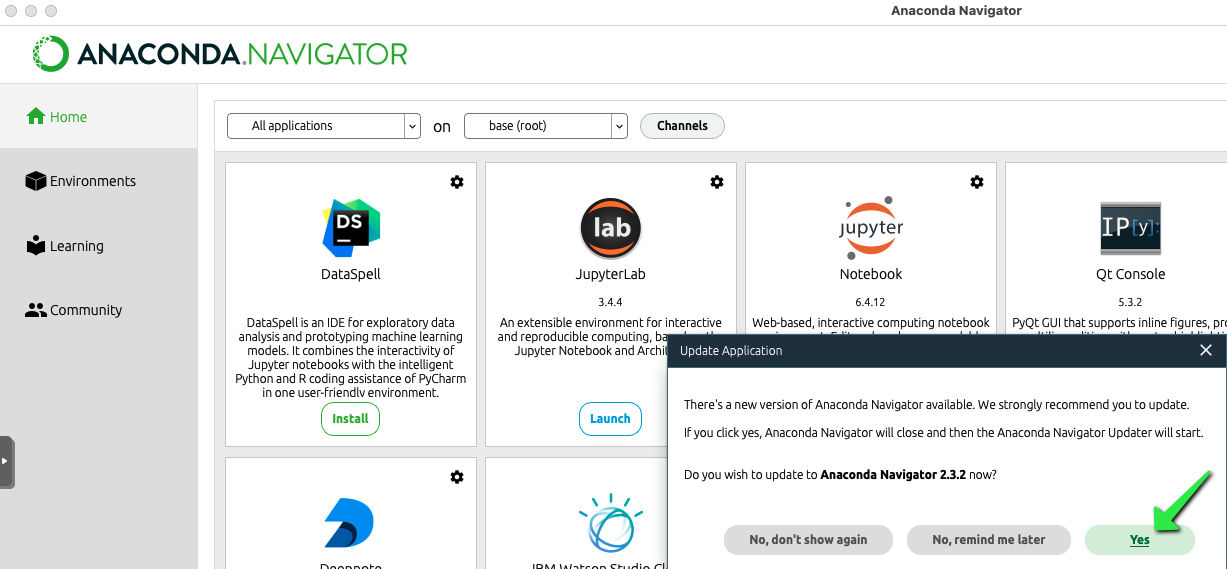
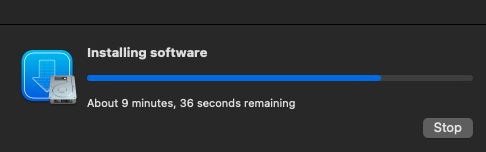
Anaconda Navigator will launch. Initial startup may take some time to complete. If Anaconda Navigator detects an available update, it will prompt to install the update, click `Yes to automatically update:
Confirming Terminal has the base Python/Anaconda Environment
Anaconda Navigator will create scripts so that the 'base' environment is always loaded when the Mac Terminal is launched.
Launch a Mac Terminal window, to do this, hold down the Command ⌘ key on your keyboard and press the Space Bar and type 'Terminal' in the search field, click on the 'Terminal' icon:

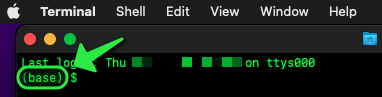
The beginning of the prompt line in Terminal will show '(base)' (or another Python environment, if applicable).
Launching a specific Python/Anaconda Environment using Anaconda Navigator
To make management of various environments within Python/Anaconda easier, the Anaconda Navigator offers the ability to manually configure an environment for a specific Terminal (or other program) launch. To do this, launch Anaconda Navigator.
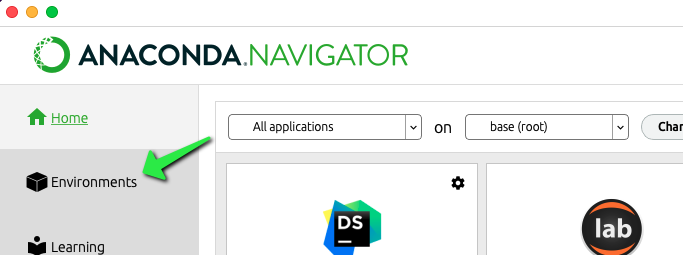
From Anaconda Navigator, click on the 'Environments' tab on the left:
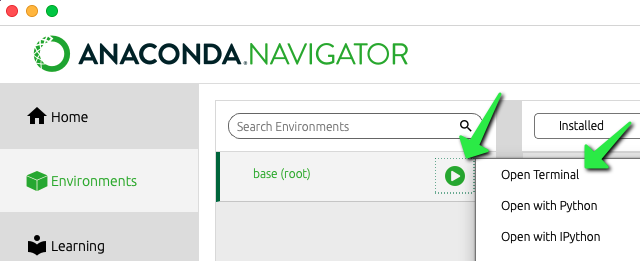
Click on the Play button and then click on 'Open Terminal':
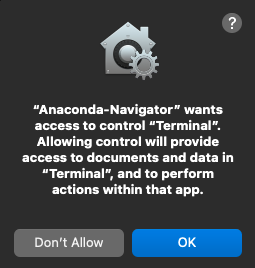
Mac OS may give a security warning about this action. If so, click OK:
In the example shown here, this will launch the Mac Terminal with the 'base' Python environment loaded, the beginning of the prompt will show (base) to indicate this:
Using VS Code with Anaconda
Visual Studio Code needs some configuration to find the default Anaconda Python environment. This section of the document assumes VS Code has been installed on the machine. If VS Code needs to be installed, follow the steps in the Mac - Install VSCode documentation.
Launch VS Code
To launch VS Code, hold down the Command ⌘ key on your keyboard and press the Space Bar and type 'Visual' in the search field, click on the 'Visual Studio Code' icon:

Installing the VS Code Python Extension
Note
The VS Code Python extension does not include a Python interpreter. There are multiple ways to ensure Python is installed on the machine. One example is if you have previously installed Anaconda Navigator, it includes a version of the Python interpreter engine. Additionally, Mac OS includes a version of Python by default but this version limits some of the functionality of VS Code.
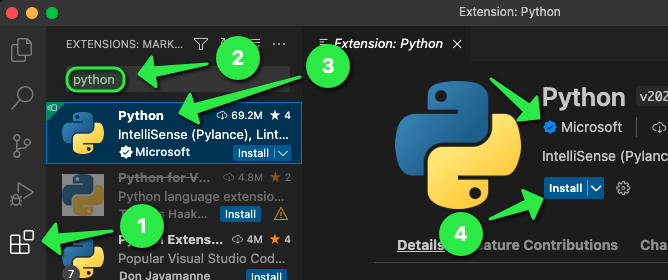
From the main VS Code interface, click on the Plug-In/Extensions button, in the search field at the top, type 'python' and press Enter or Return on your keyboard. Locate the 'Python' extension from Microsoft.
Note
There are other Python extensions in the Extension Marketplace. Be certain the VS Code Python extension you install is from Microsoft and listed with a blue checkmark next to the publisher name.
This screenshot shows what the proper Microsoft Python extension looks like, note the verified checkmark. Click the Install button to add this extension to VS Code:
Installing the Apple Development Command Line Tools / XCode
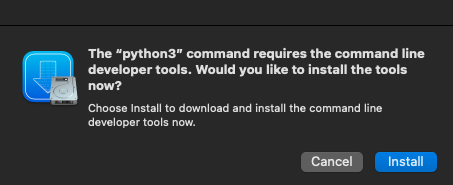
At this point, Mac OS may need to install some additional components to make this work. If no prompt is displayed, skip to the Configuring VS Code to find Anaconda section of this document. If the prompt is displayed, click Install:
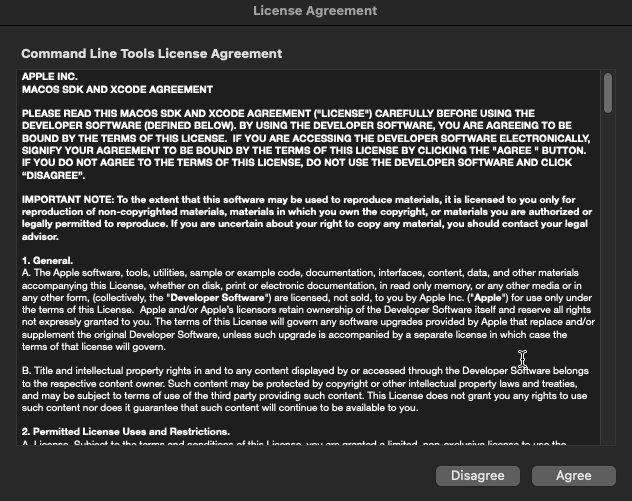
Click Agree on the 'Apple Command Line Tools/XCode License Agreement':
The 'Apple Development/XCode Command Line Tools' installation will proceed. This may take some time.
The installation has completed once the Extension shows 'Uninstall' in the Extension browser.
Configuring VS Code to find Anaconda's Python Interpreter
VS Code may prompt to 'Select a Python Interpreter' in the bottom-right corner. If so, click on Select Python Interpreter.
If this prompt does not display, launch the VS Code Command Palette via:
⌘ Command + Shift + P
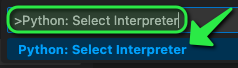
Type the following in the Command Palette:
Python: Select Interpreter
Click on the 'Python: Select Interpreter' option that is displayed:
Click on the 'Python 3.x.xx ('base')' option that is located at the following path '~/opt/anaconda3/bin/python':

Loading Python code
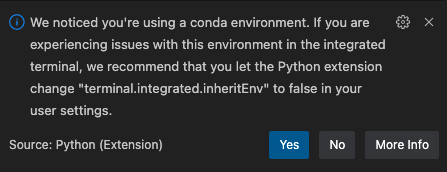
When loading a Python script within VS Code, there may be a prompt in the lower-right corner to allow the Python VS Code Extension to change a setting relating to the Conda environment. Click yes to update the 'terminal.integrated.inheritEnv' setting appropriately:
The following will display in the bottom-right corner on the status bar indicating the Python environment that has been activated and is currently being utilized, confirm it says ('base': conda):

Using Spyder Instead of VS Code
VS Code is a great integrated development environment (IDE). An alternative that some users prefer is the Spyder IDE. This is included with the Anaconda installation.
Launching Spyder
As long as Anaconda is installed, Spyder will be available in 'Anaconda Navigator'. To launch Anaconda Navigator, hold down the Command ⌘ key on your keyboard and press the Space Bar and type 'Anaconda' in the search field, click on the 'Anaconda-Navigator' icon:
Anaconda Navigator will launch. Initial startup may take some time to complete. Upon launch, find the Spyder icon and click the Launch button:

Spyder natively supports Python and is preconfigured to use the Anaconda Python environment by default.
If Spyder is Missing from Anaconda Navigator
If Anaconda Navigator does not show Spyder as an available option, from Anaconda Navigator, click on the 'Environments' tab on the left:
Click on the Play button next to base (root) and then click on 'Open Terminal':
Note
If the Play button is greyed-out, not available, or not working, wait until the Package Updater is
complete loading updated packages.
Mac OS may give a security warning about this action. If so, click OK:
In the example shown here, this will launch the Mac Terminal with the 'base' Python environment loaded, the beginning of the prompt will show (base) to indicate this:
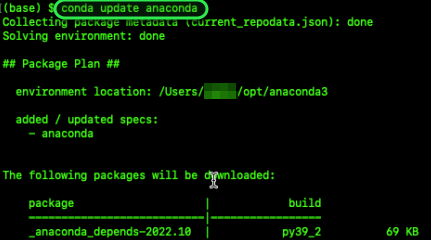
Next, type the following at the Terminal prompt:
conda update anaconda
Type 'y' at the 'Proceed' prompt to continue with the update process.

The Anaconda packages will download, this process will take some time.
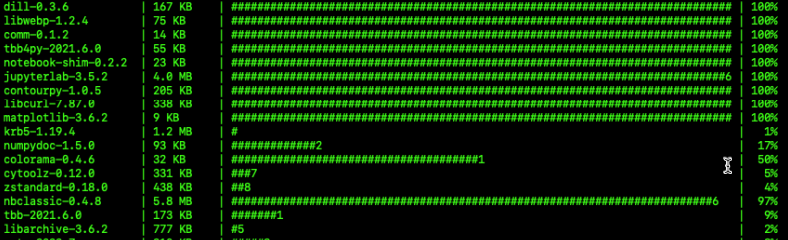
After the packages download, the update transactions will complete.
Once you are returned to your Terminal prompt, enter the following:
conda install spyder
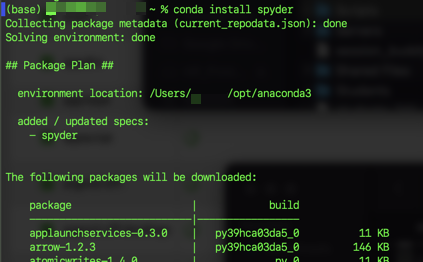
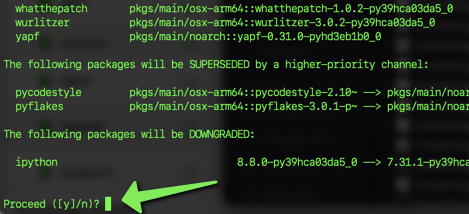
Type 'y' at the 'Proceed' prompt to continue with the installation process.
Next, close and re-launch the Anaconda Navigator. Spyder should now show up as an option on the Home tab.