Installing Anaconda and Spyder on Mac
The first step in downloading Anaconda is to confirm which architecture your Mac is using. Apple has released chips that power most newer Macs while older Macs ran Intel processors. Please see finding the architecture of a Mac computer for more information and before proceeding with this document.
Downloading Anaconda
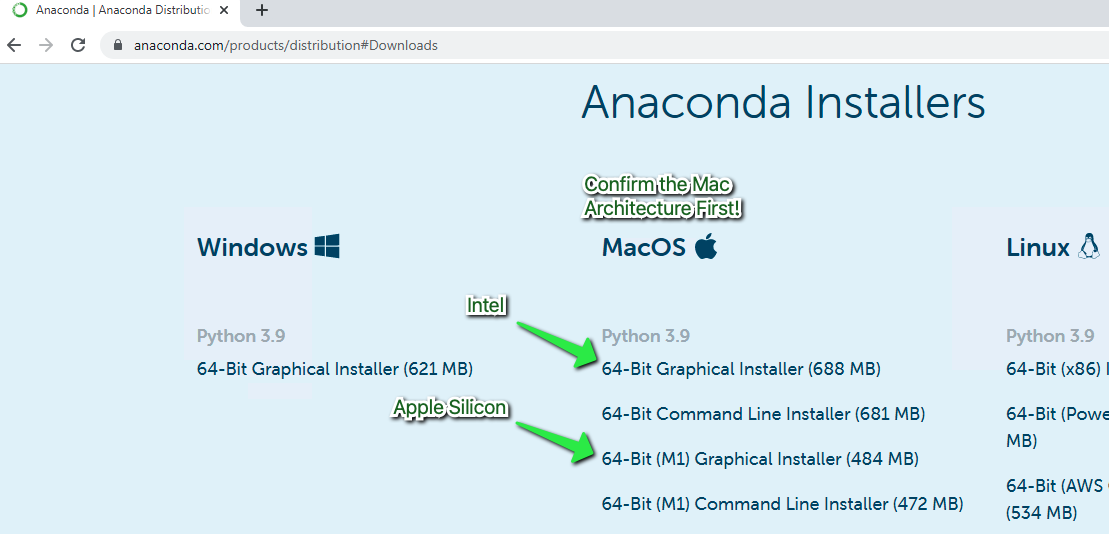
Once the CPU architecture of the Mac has been determined, navigate to the following link: https://www.anaconda.com/products/distribution#Downloads
Important
It is important to determine the proper installer for your Mac's CPU prior to downloading or installing Anaconda. Ensuring the proper installation package is used will help with performance, compatibility, and stability of the Anaconda and Python environments.
Based on the information gathered from the determine Mac architecture document, click on the blue download link under MacOS that says '64-Bit (M1) Graphical Installer' if you determined your Mac is running Apple Silicon, or the link that says '64-Bit Graphical Installer' if your Mac has an Intel CPU:
Launching the Anaconda Installation Package
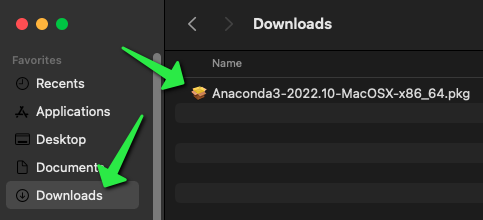
Once the download completes, hold down the Command ⌘ key on your keyboard and press the Space Bar and type 'Downloads' in the search field, click on the Downloads Finder icon:

Click on Downloads on the left side of the Finder window then locate the Anaconda3*.pkg file. If it helps find the Anaconda3*.pkg file, click on the Date Added column to sort by newest:
Installing
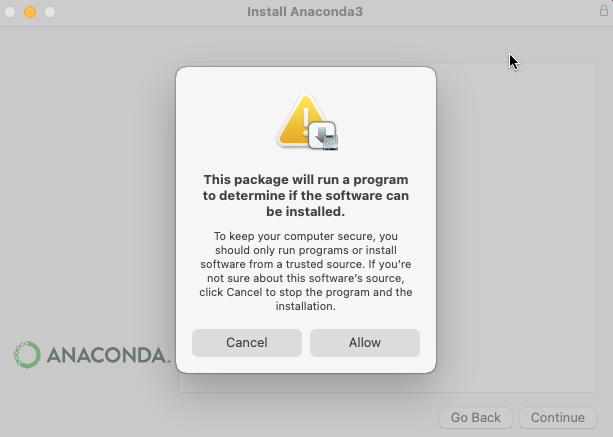
Once the installer launches, click Allow so the installation package can confirm the software can be installed.
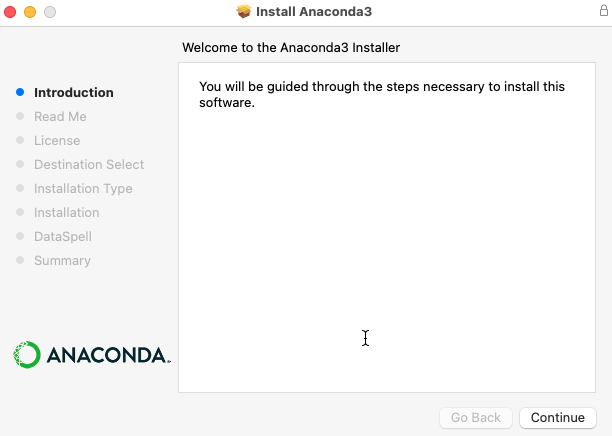
Click Continue on the 'Welcome' screen:
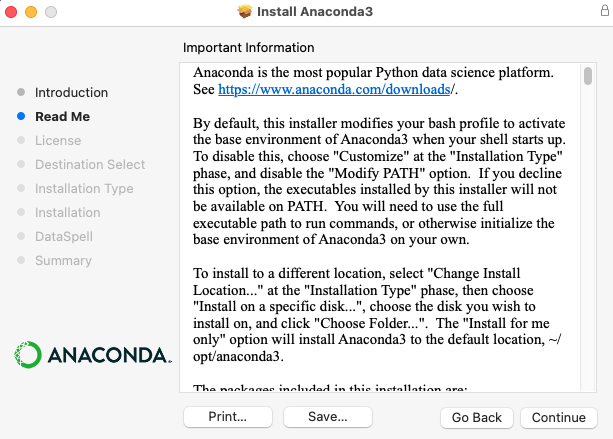
Click Continue on the 'Important Information' screen:
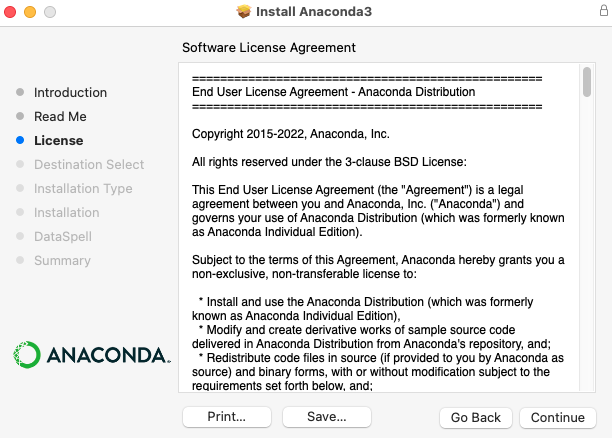
Click Continue on the 'Software License Agreement' screen:
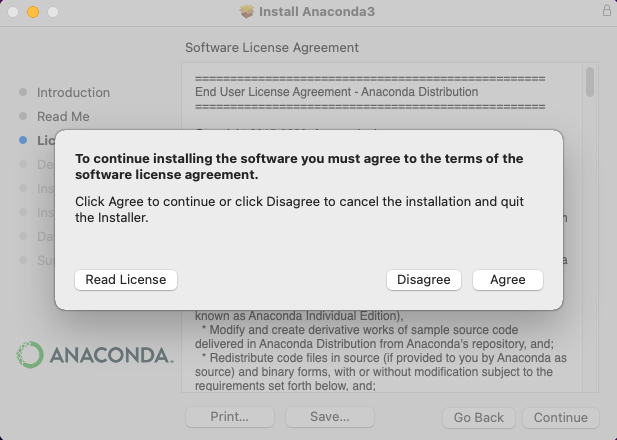
Click Agree on the 'License Agreement' confirmation prompt:
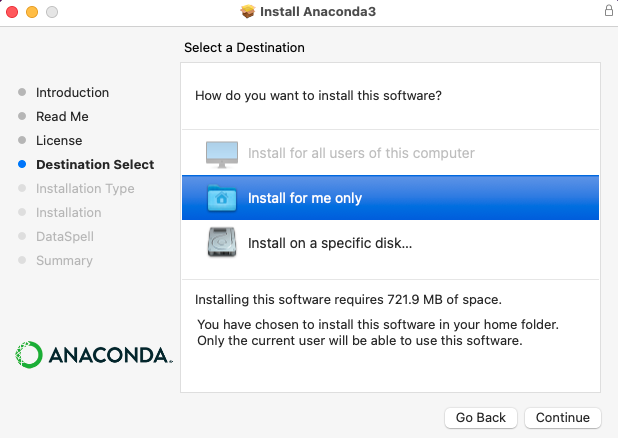
Select 'Install for me only' on the 'Select a Destination' screen, then click Continue.
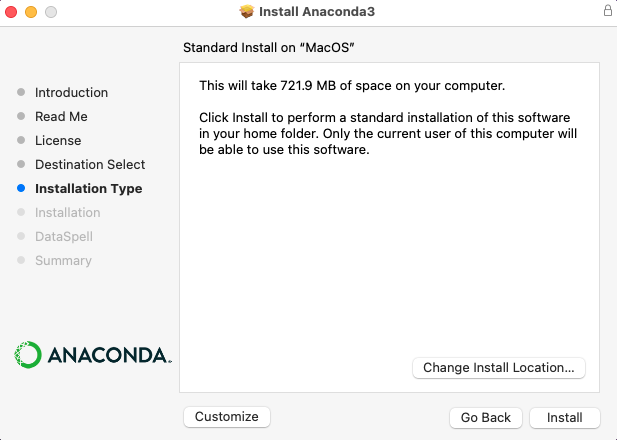
Click Install on the 'Installation Location' screen:
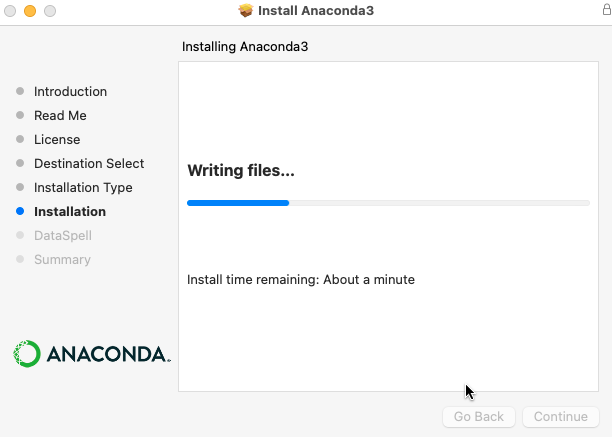
The installation will proceed. This may take a few minutes:
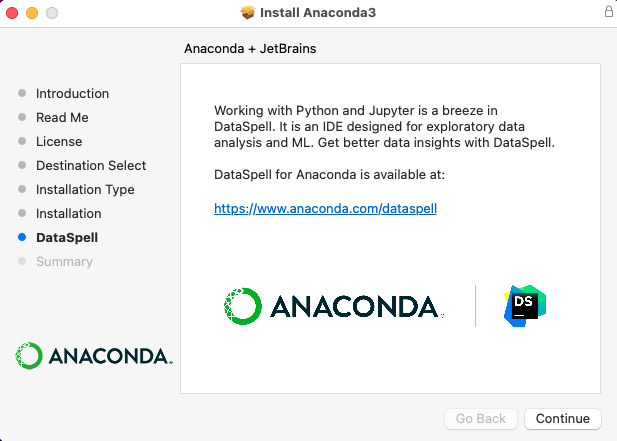
Click Continue on the DataSpell advertisement screen:
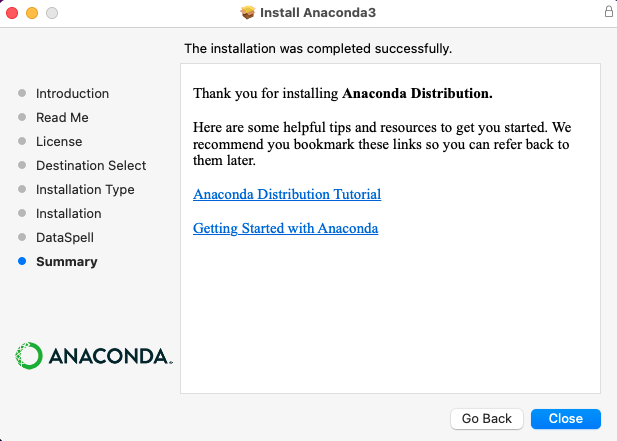
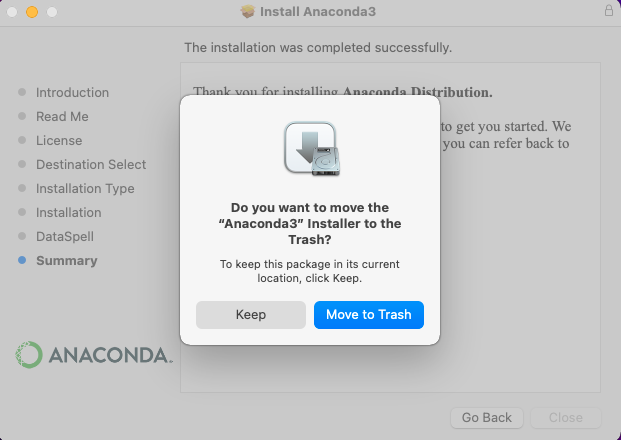
Click Close on the Installation Summary screen. Optionally review the links for the 'Anaconda Distribution Tutorial' and 'Getting Started with Anaconda':
Once the installer closes, Mac OS will prompt for removal of the installation file, click Move to Trash:
Finding Anaconda after Installation
Once Anaconda is installed, hold down the Command ⌘ key on your keyboard and press the Space Bar and type 'Anaconda' in the search field, click on the 'Anaconda-Navigator' icon:

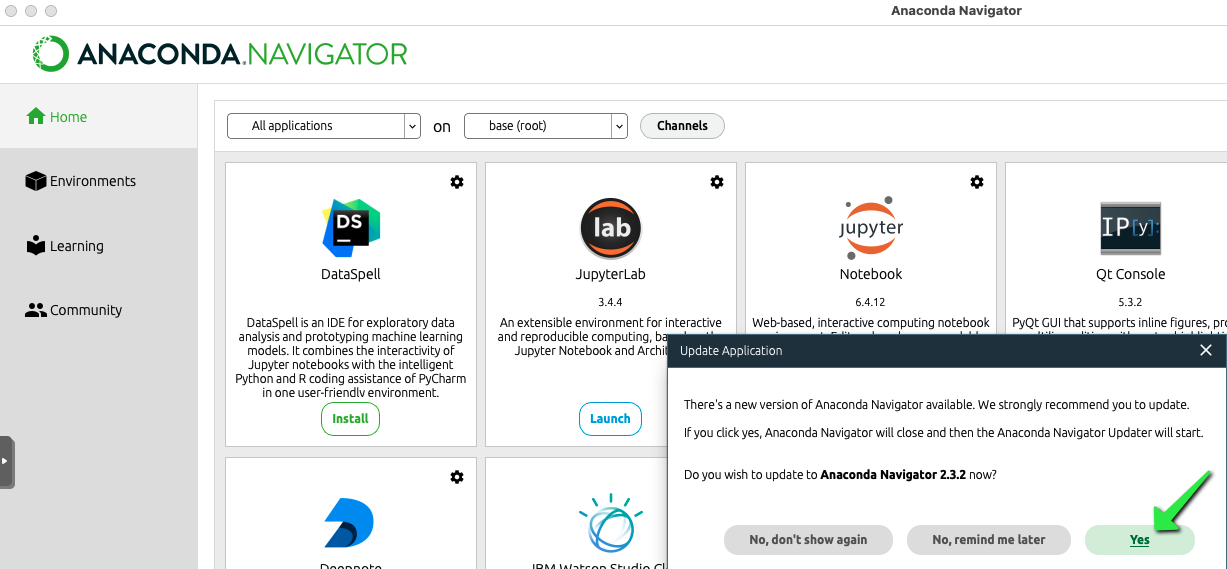
Anaconda Navigator will launch. Initial startup may take some time to complete. If Anaconda Navigator detects an available update, it will prompt to install the update, click `Yes to automatically update:
Using Anaconda Navigator
Head over to the 'Using Anaconda Navigator on Mac' document for more information.