Removing Versions of Java on Windows
Sometimes multiple versions of Java being installed can contribute to issues with Java applications. An important step in fixing an issue such as this is uninstallation of older Java versions.
Launch Apps and Features
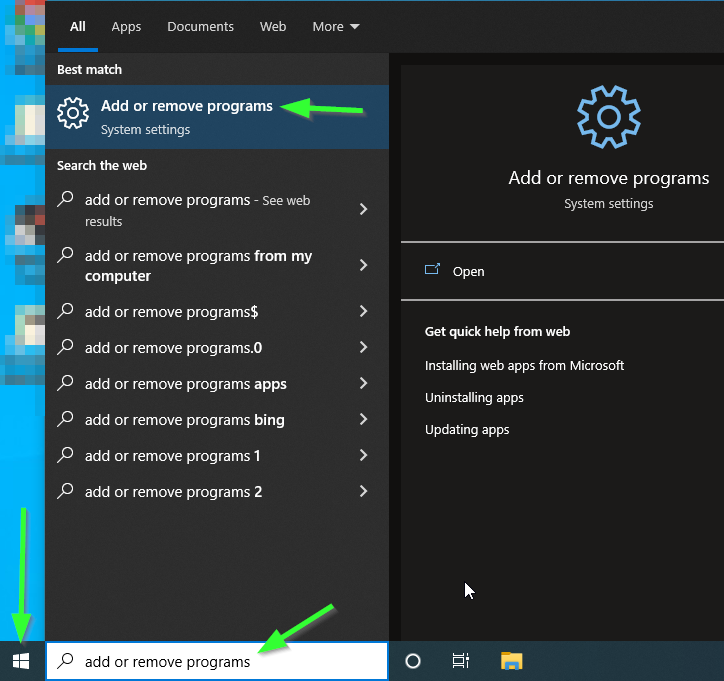
Launch the 'Add or Remove Programs' section of 'Apps & Features' by clicking on the Windows Start button and typing 'Add or Remove Programs':
Search for Java and JDK installations
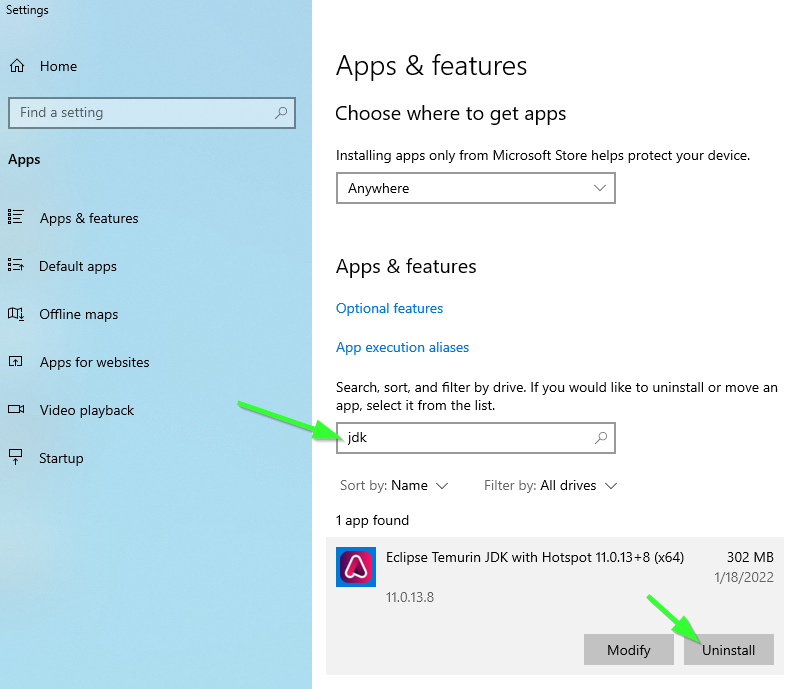
Use the Search field on the 'Apps & Features' screen to find installed versions of Java or JDK. Use both 'java' and 'jdk' as search terms. To uninstall an application that has been located, click on the program, then click 'Uninstall' on each application you would like to uninstall:
Important
Be sure to search for both 'java' and 'jdk' in the above step.
Remove all previously installed versions of Java Development Kits and Java Runtimes that are located in the preceeding step.
The uninstallation processes may prompt to reboot the machine. It is safe to continue with additional uninstallations prior to rebooting, but be sure to proceed with a reboot before continuing with a new Java installation.
Note
Ensure any unsaved work is saved prior to rebooting the machine.
Next steps and (re)installing Java
Proceed with reinstallation of an appropriate Java build by following the course materials or documentation provided on this website.