Removing Java Extensions from Visual Studio Code
Multiple potentially conflicting versions of Java extensions being installed in VS Code can contribute to issues with Java development. An important step in fixing an issue such as this is uninstallation of older and conflicting Java extensions.
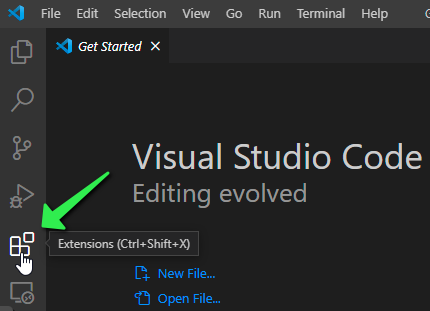
Launch VS Code. Click on the Extensions button on the left:
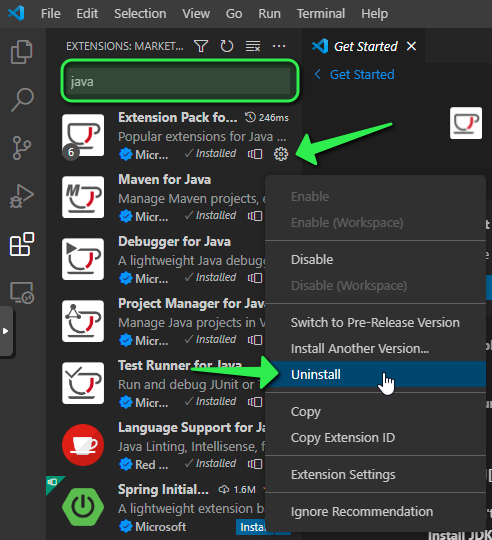
Use the Search field at the top to search for Java. Any installed extensions will have a Gear icon rather than a blue ‘Install’ button. Click on the Gear and select Uninstall for each installed application that matches the Java search:
Proceed with reinstallation of an appropriate Java build by following the documentation provided in the course materials.
Important
While it’s generally recommended to avoid extensions while beginning Java development, they can become helpful as development skills improve.
For CSE and CSB Courses, ensure steps covered in the course materials work appropriately before introducing VS Code extensions.
If there is a need or interest in installing extensions for Java within VS Code, ensure testing of the compilation steps covered in the course materials works PRIOR to reinstalling any VS Code extensions for Java. Additionally, ONLY install extensions that are verified (blue check mark) as being published by Microsoft or Red Hat:

As a general recommendation, avoid installing Java extensions from different vendors. For example, installation of the ‘Extension Pack for Java’ from Microsoft should preclude installation of any other Java extensions in the store.
Additionally, the 'Extension Pack for Java' is a meta-package that will include multiple additional extensions Microsoft recommends for Java development. These include the 'Language Support for Java' extension from Red Hat along with the 'Debugger for Java', 'Test Runner for Java', 'Maven for Java', 'Project Manager for Java', and 'Visual Studio Intellicode' extensions from Microsoft.