Installing Java JDK Version 11 on Mac OS
Checking for previously installed Java versions
Installed Java versions can be determined from the Mac Terminal by typing the command:
java -version
To do this, hold down the Command ⌘ key on your keyboard and press the Space Bar and type 'Terminal' in the search field, click on the Terminal icon:
Type:
java -version
In the case of this screenshot, Java JDK 11.0.15 is installed. If you receive an error, Java is likely not installed.
Introduction
The CSE Department has standardized on Version 11 of the Eclipse Temurin Java Development Kit (also sometimes called AdoptOpenJDK, or Red Hat/CentOS OpenJDK). To download a suitable build of Eclipse’s Temurin Java JDK, navigate to:
Important
The CSE Department currently recommends Java 11. This requires clicking on 'Other platforms and versions' from the main Adoptium.net page. Use the link above to go directly to the appropriate page.
Downloading Eclipse Temurin
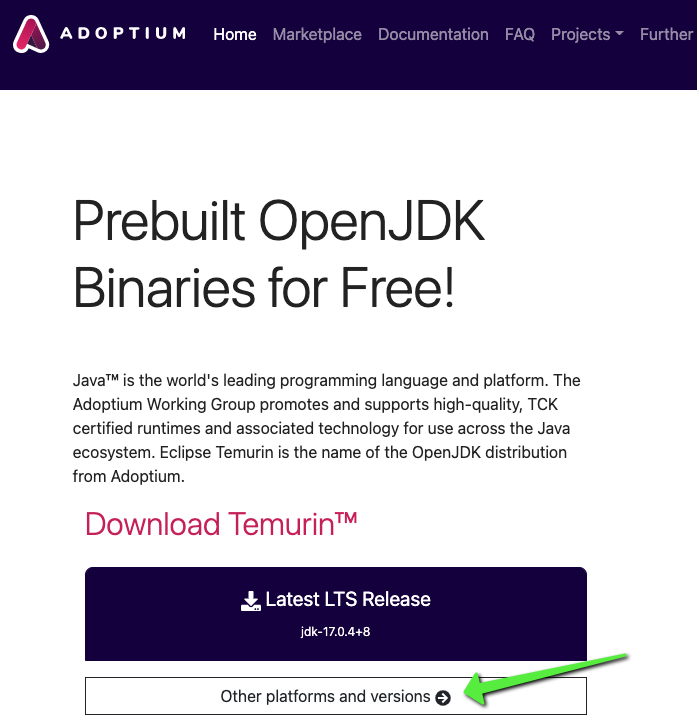
As mentioned above, the CSE and CSB-recommended version of Java is 11, the default download at Adoptium.net is version 17. Click on Other platforms and versions to find version 11:
Important
Before we can configure the filters to find the appropriate download, it is important to identify the architecture of the Mac where this Java software will be installed. To find this, see the documentation for Finding a Mac's CPU Architecture.
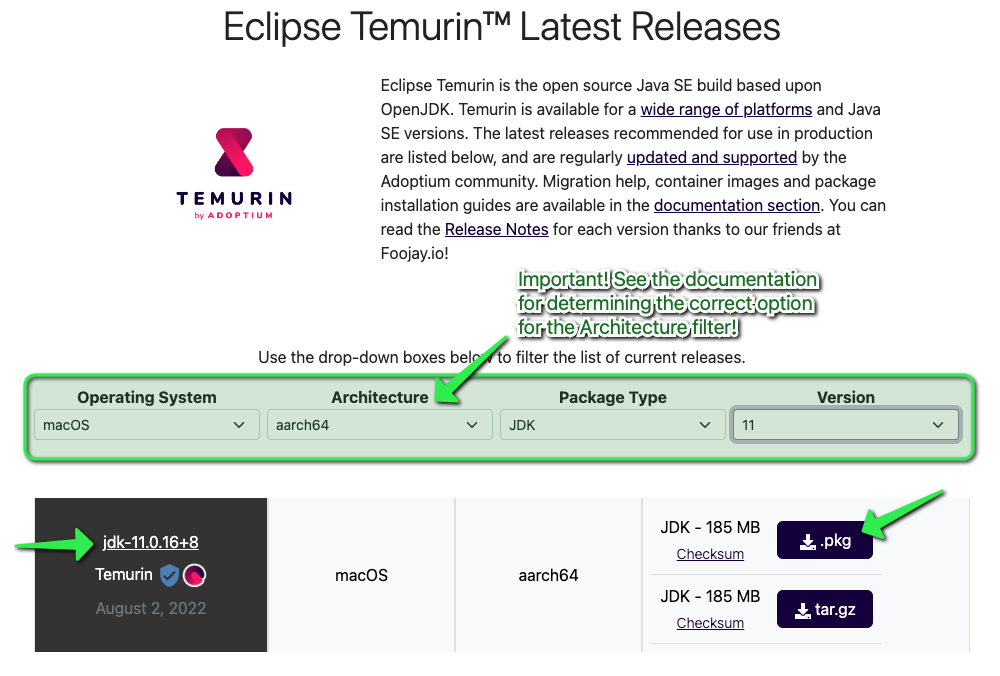
Set up the filters for ‘macOS’, ‘x64’ if running an Intel-based Mac or 'aarch64' if running an M1 or M2-based Mac, ‘JDK’, and Version ‘11’ as shown, verify the version shown looks like jdk-11.x.x+x, and that the Architecture shown is correct for the target Mac, then click on the ‘.pkg’ link to download the installer:
Launching the Eclipse Temurin Installation Package
Hold down the Command ⌘ key on your keyboard and press the Space Bar and type 'Downloads' in the search field, click on the Downloads Finder icon:
Click on Downloads on the left side of the Finder window then locate the OpenJDK11.pkg file. If it helps find the OpenJDK.pkg file, click on the Date Added column to sort by newest:
Installation
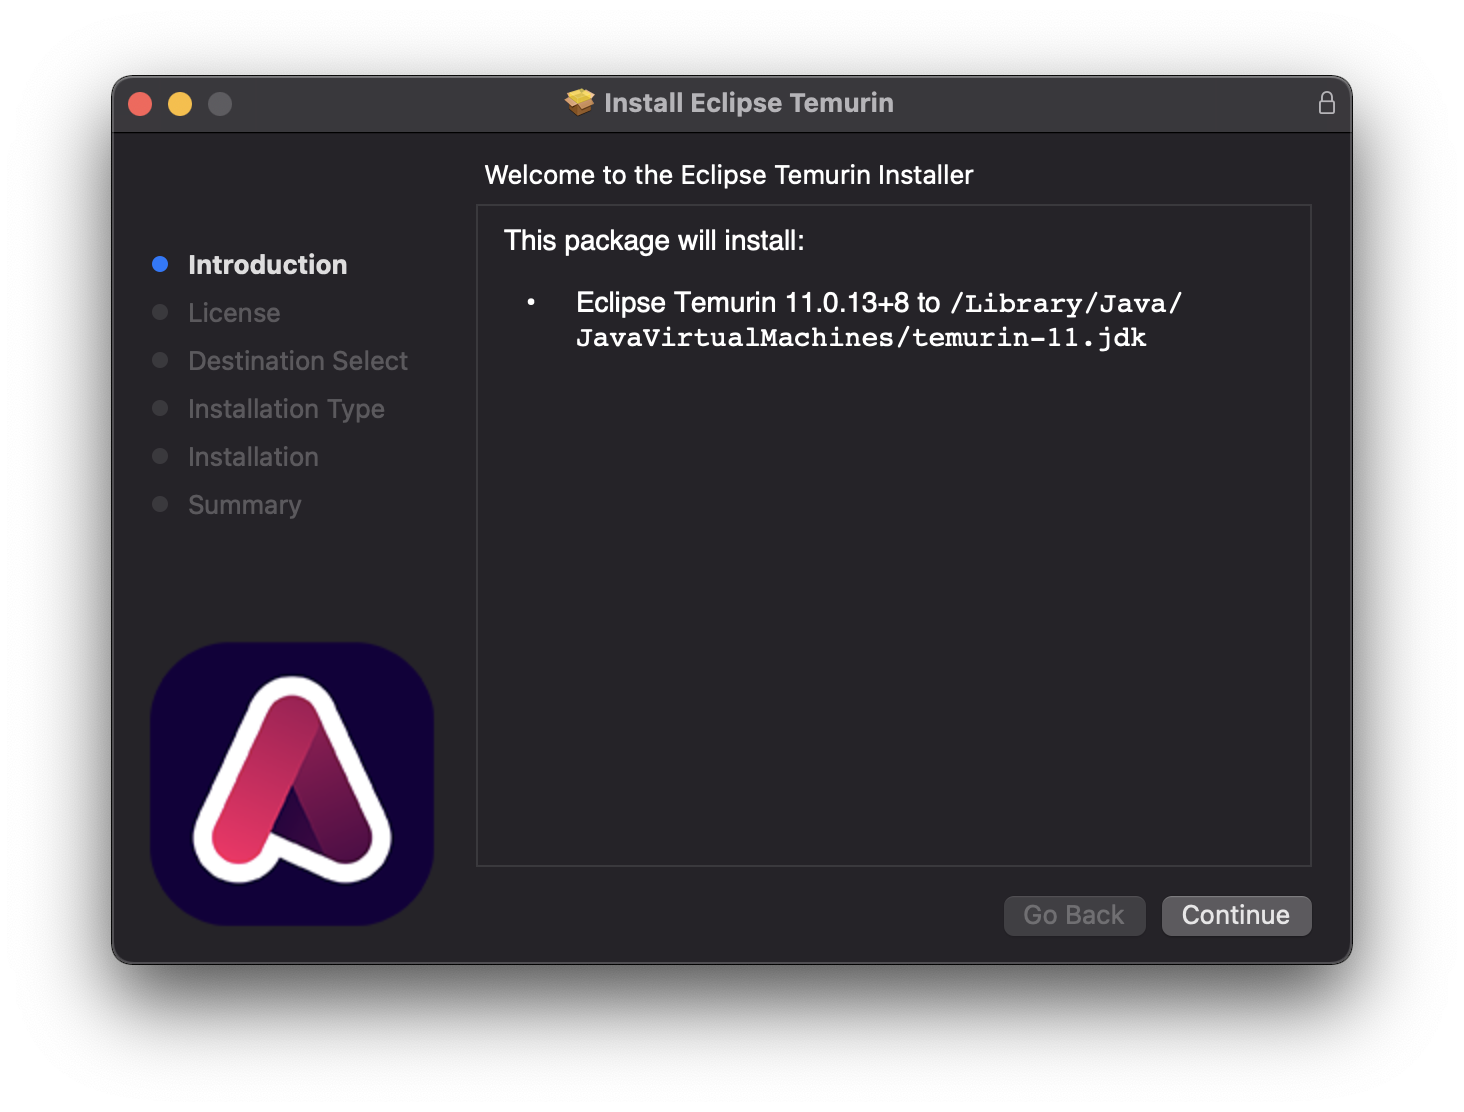
Launch the downloaded file, click on ‘Continue’:
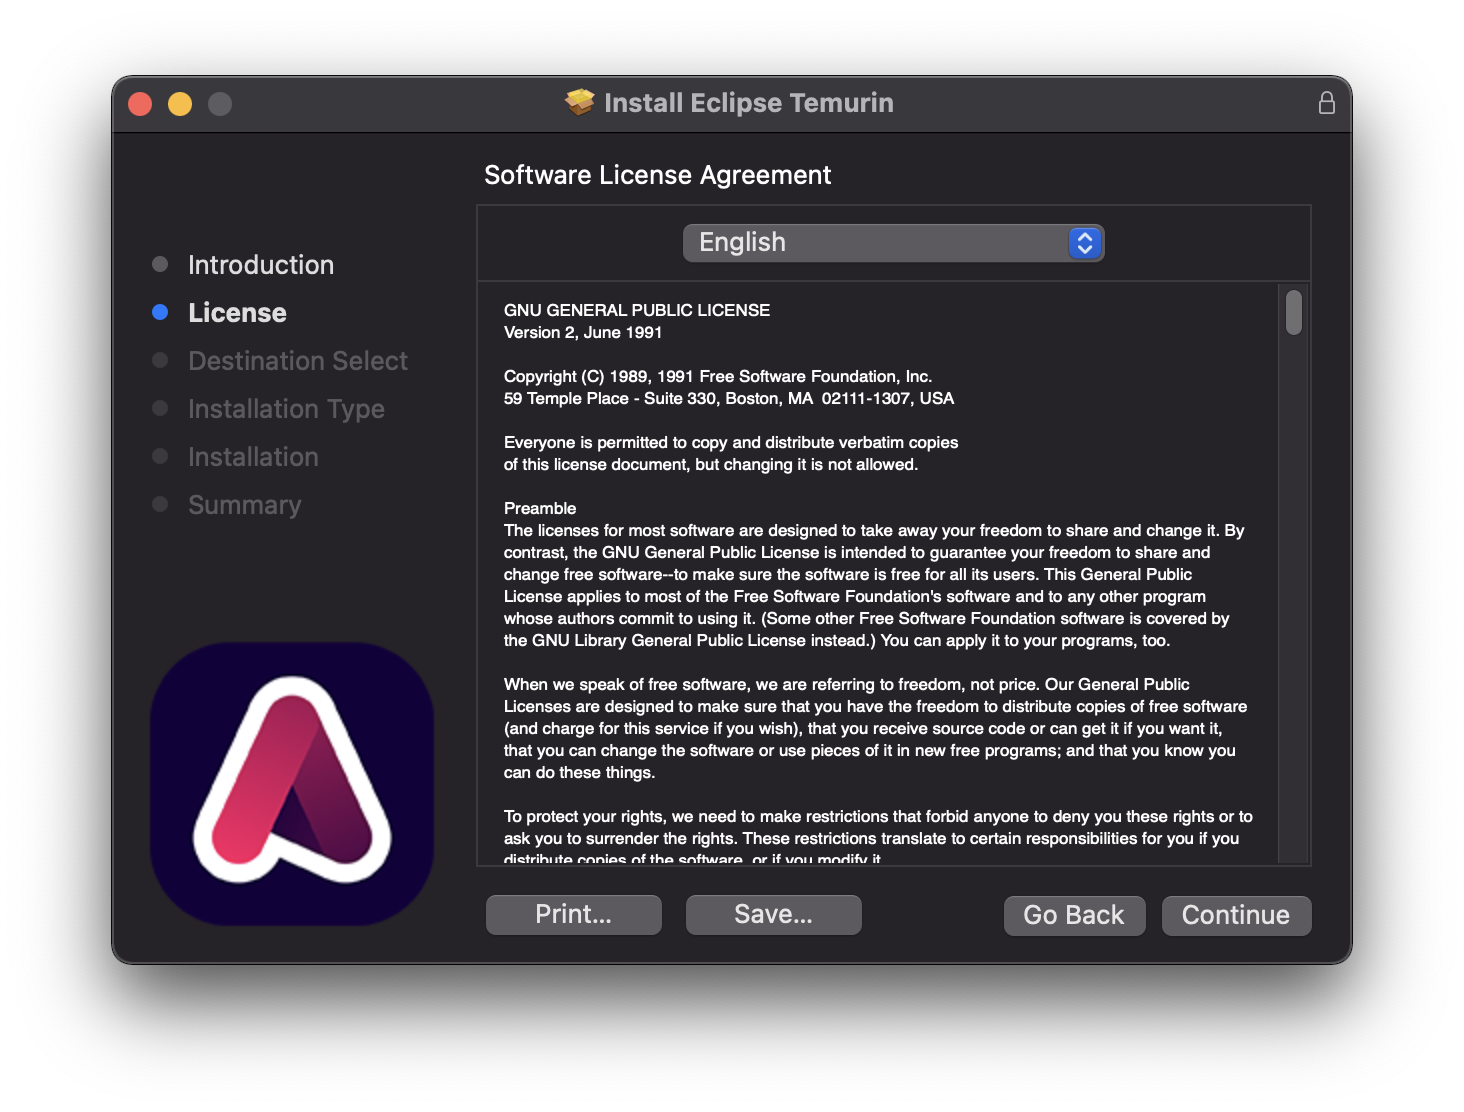
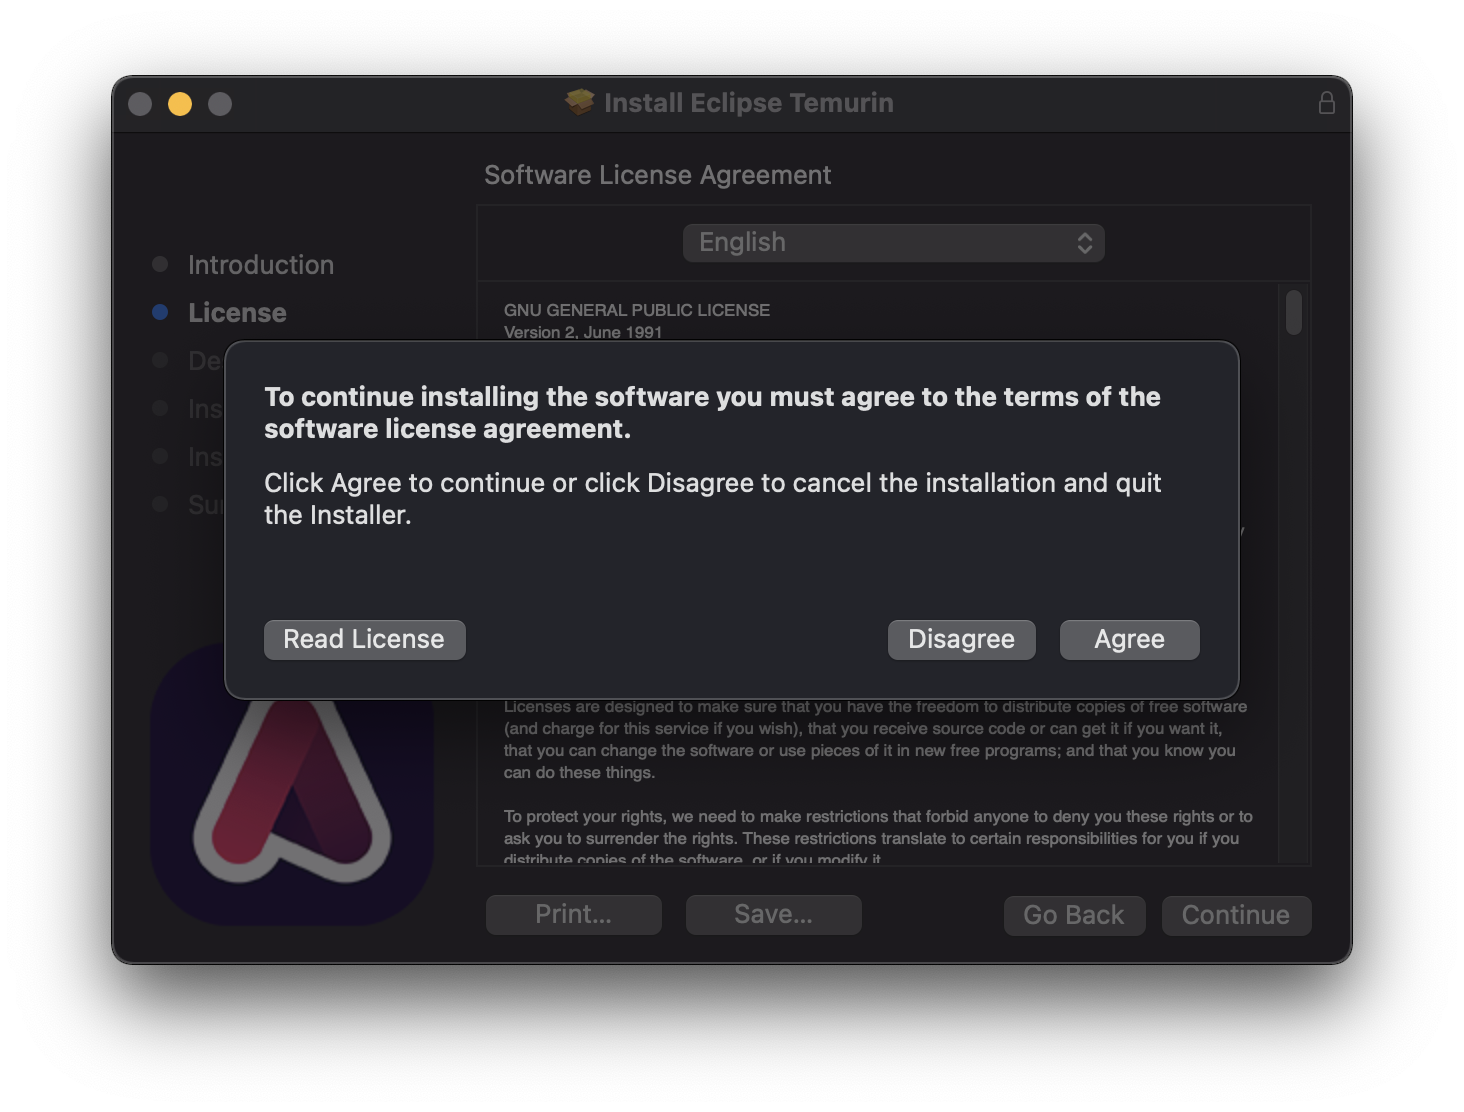
Click on ‘Continue’ to accept the Software Licensing Agreement:
Click on ‘Agree’:
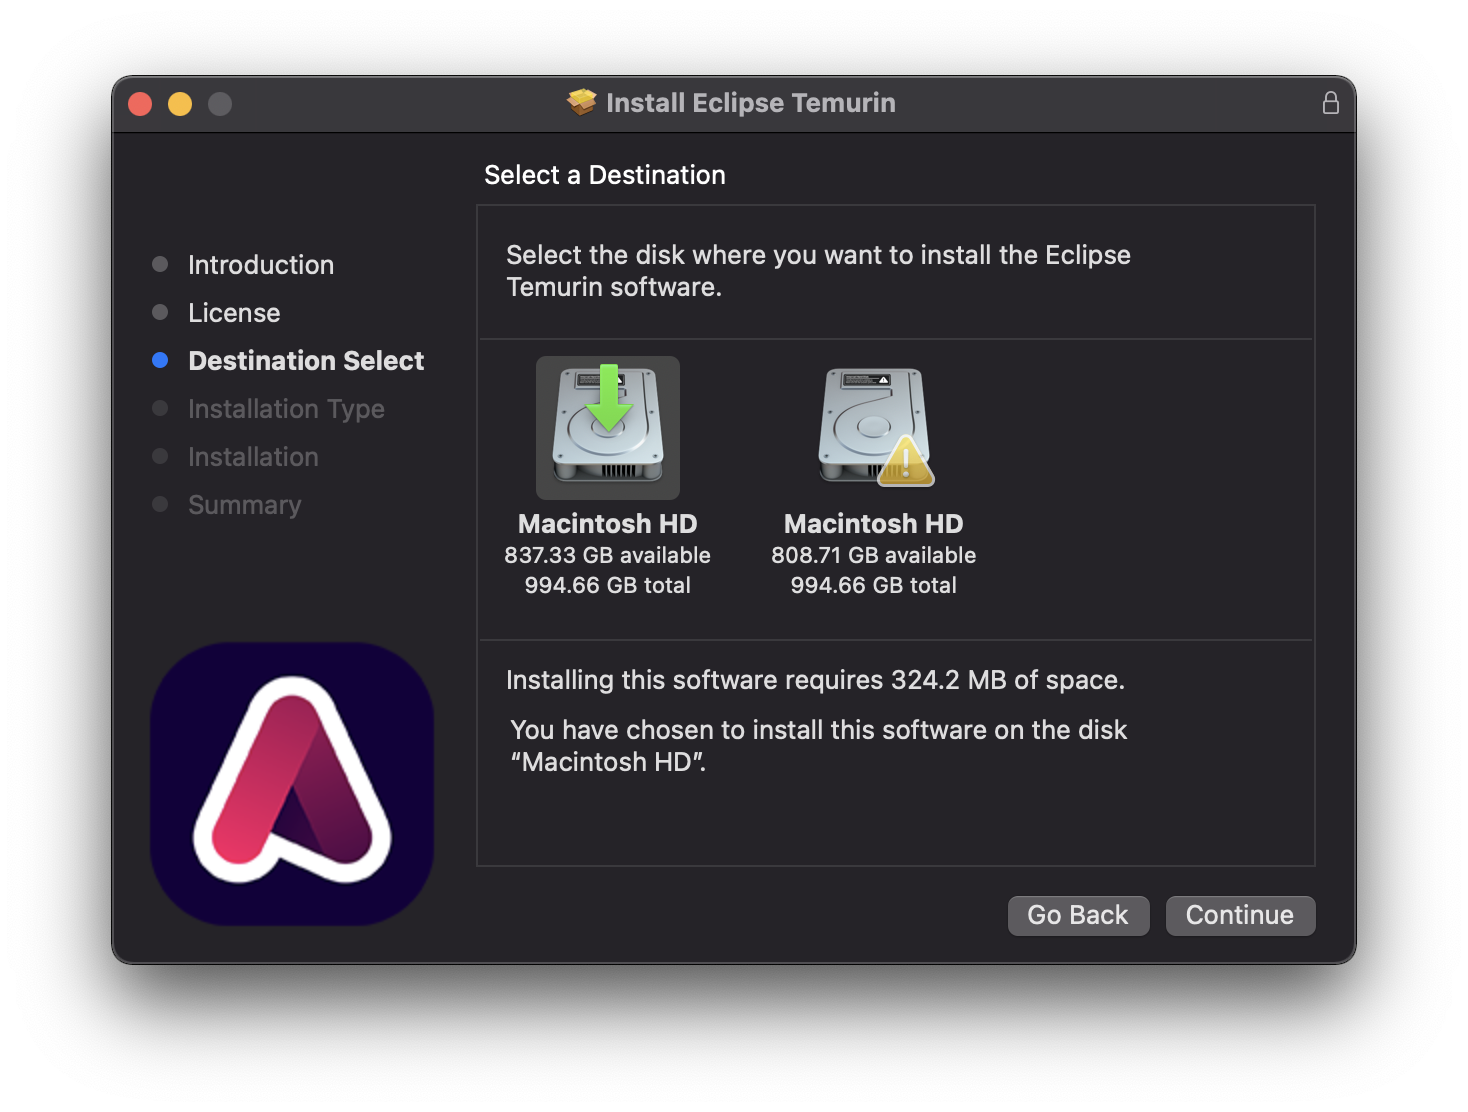
Select the installation location and click ‘Continue’:
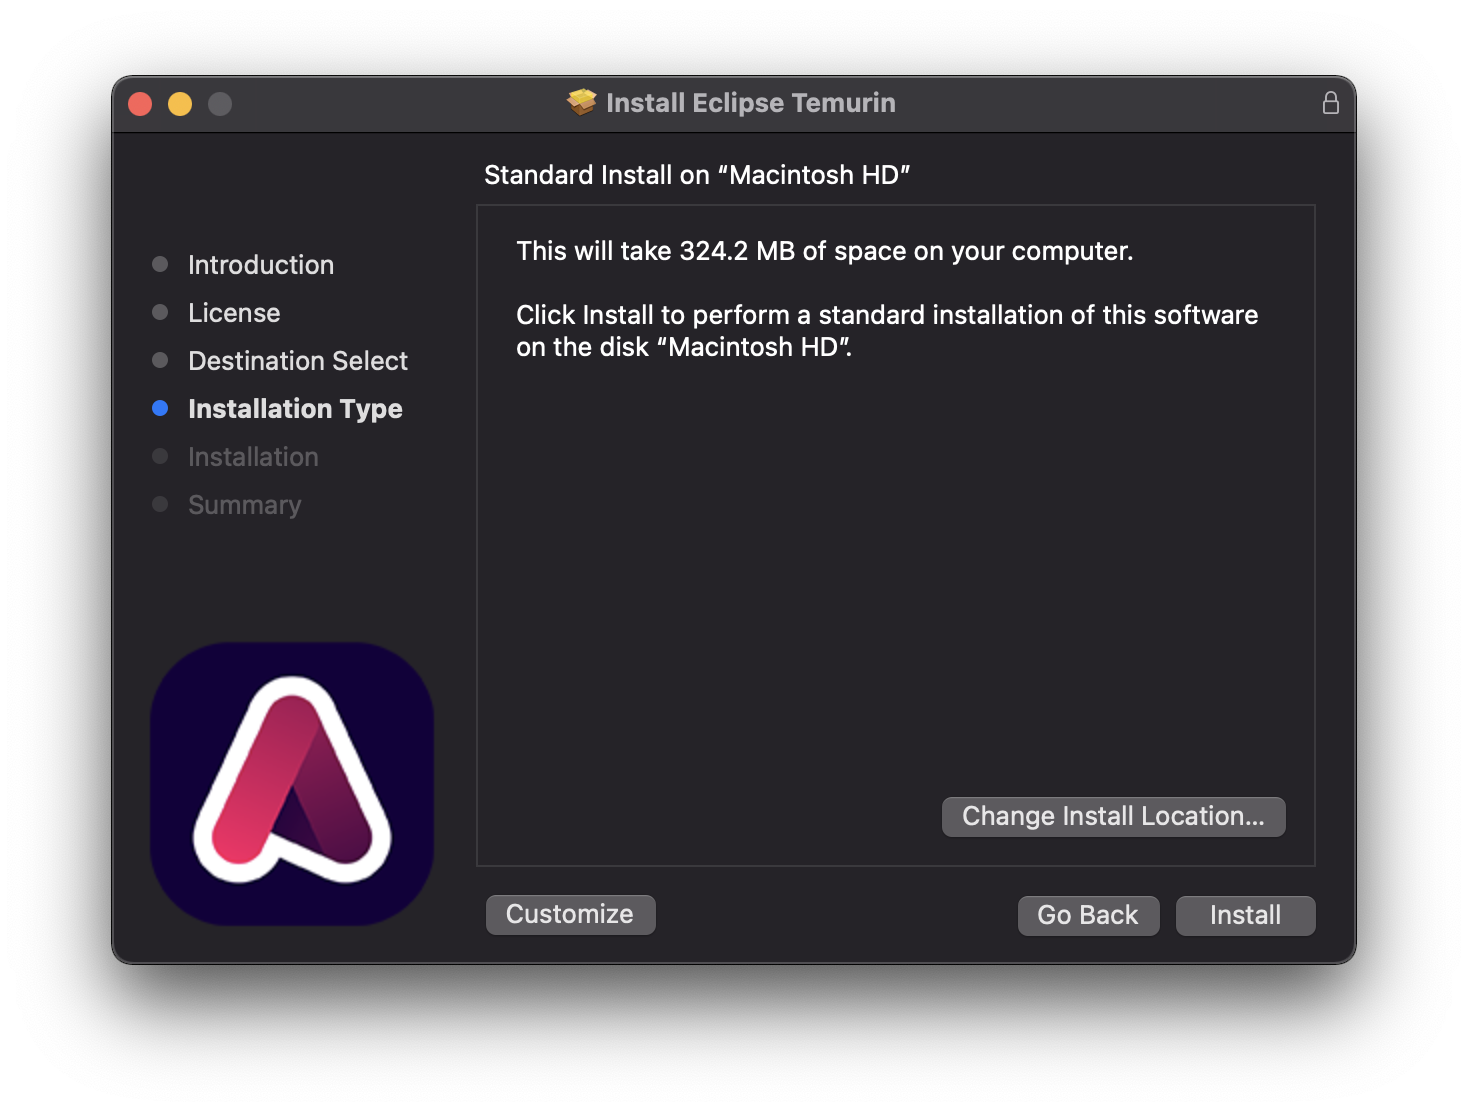
Click ‘Install’ on the verification screen:
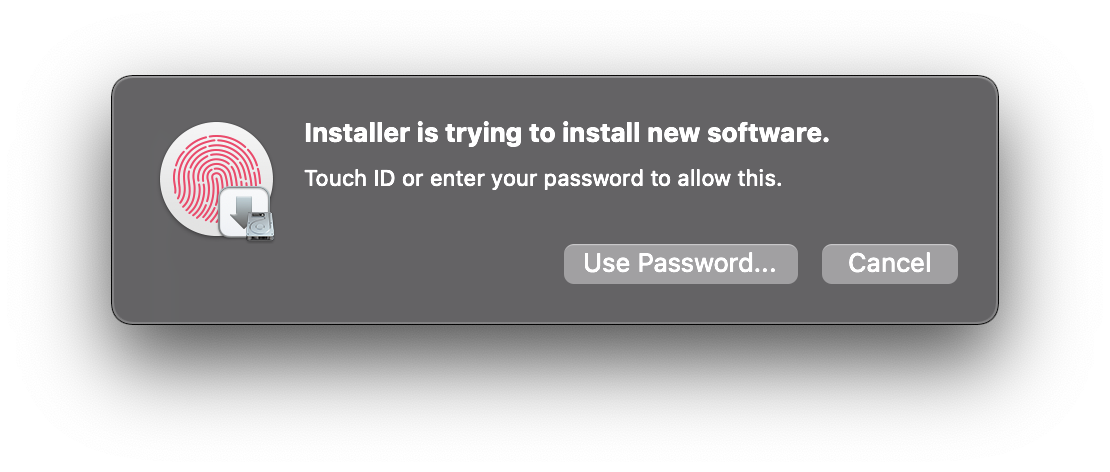
MacOS will prompt for authentication for installation of the new software. Touch ID enabled Macs will allow use of a fingerprint, some Macs may prompt for a password instead:
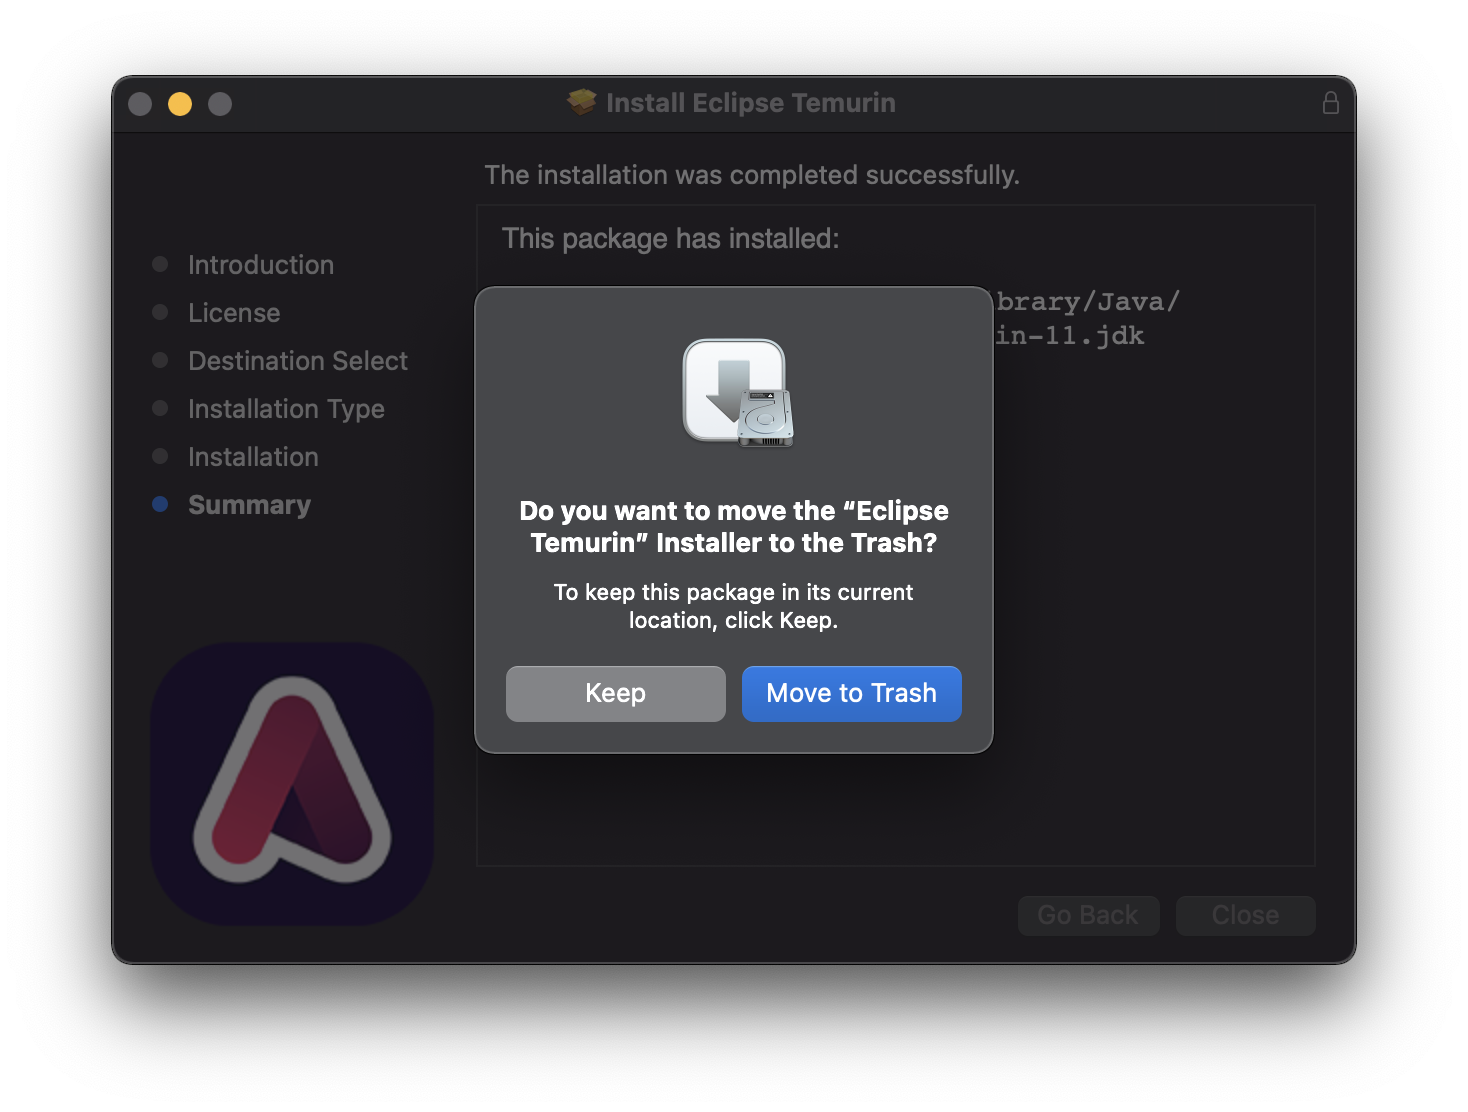
Once the installation is complete, it will prompt to remove the downloaded file. Click ‘Move to Trash’:
Eclipse Temurin Java JDK Version 11 is now installed. Relaunch the application that you were attempting to use with Java. Confirm the installed version of Java via the process at the beginning of this document.


